
 pin it
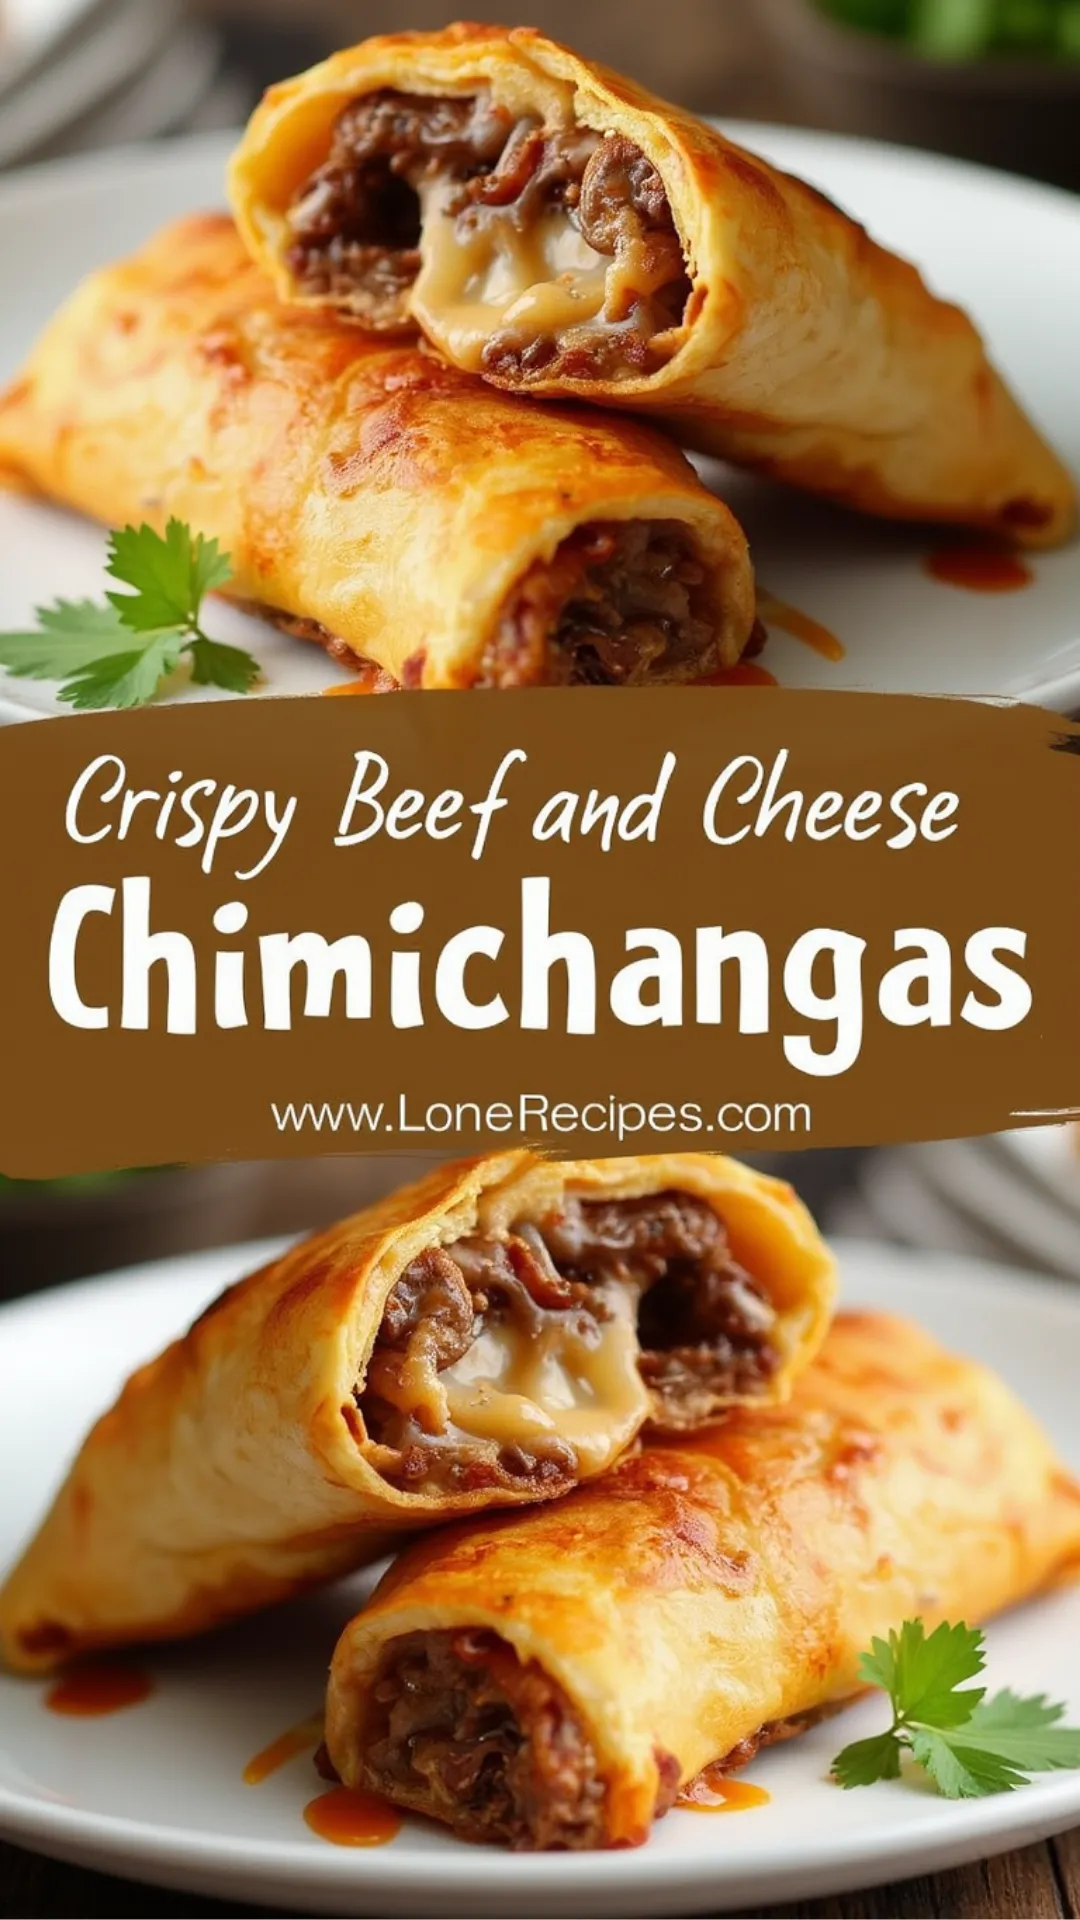
I first encountered chimichangas during a road trip through the American Southwest. I was immediately captivated by the contrast between the crispy exterior and the flavorful filling. When I make these at home, I focus on getting the beef filling just right—seasoned generously but not overpowering the other flavors. I prefer to shallow-fry rather than deep-fry them, which gives plenty of crispiness without being too heavy. The key is to fold them tightly so the filling doesn't escape during cooking. I love watching the tortilla turn golden brown and hearing that distinctive sizzle as it hits the hot oil. The aroma that fills the kitchen is incredible—spicy, savory, and guaranteed to make everyone ask when dinner will be ready.
Why I love this recipe
I love this chimichanga recipe because it combines the best elements of comfort food—crispy exterior, savory meat, and melty cheese—in one satisfying package. These chimichangas remind me of festive family gatherings where everyone shares food and stories around the table. The recipe is incredibly versatile; I can adjust the spice level to please everyone and customize the fillings based on what's in my refrigerator. There's something magical about the transformation from a simple tortilla wrap to a golden-fried delight. I also appreciate that while they look and taste impressive, they're actually quite simple to make. When I serve these to guests, they always ask for the recipe, which is the ultimate compliment. Even my children, who can be picky eaters, clear their plates when I make these chimichangas.
What You Need From Your Kitchen
- Ground beef: Use 80/20 lean-to-fat ratio for best flavor
- Flour tortillas: Choose large 10-inch burrito-size for proper wrapping
- Cheese: Opt for a good melting cheese like Monterey Jack or cheddar
- Onion and garlic: Provides aromatic base for the filling
- Spices: A blend of chili powder, cumin, and oregano creates authentic flavor
- Vegetable oil: Used for frying to achieve crispy exterior
Let's Make These Together
- Prepare the filling
- Brown ground beef with onions until fully cooked, then add garlic and seasonings. The meat should be well-seasoned but not overly spicy unless you prefer it that way.
- Assemble chimichangas
- Warm tortillas briefly to make them pliable. Place beef filling and a generous amount of cheese in the center, then fold sides in and roll tightly to form a secure packet.
- Secure properly
- If your chimichangas seem likely to unfold, secure them with toothpicks before cooking. Just remember to remove them before serving!
- Fry until golden
- Heat oil in a skillet and fry seam-side down first to seal the edges. Turn carefully until all sides are crispy and golden brown. If baking instead, brush with oil first.
- Garnish and serve
- Let chimichangas drain briefly on paper towels, then top with fresh cilantro and serve with your favorite accompaniments while still hot and crispy.
 pin it
Switch Things Up
One evening when I was craving something with a bit of crunch, I decided to experiment with these chimichangas. Instead of deep-frying, I brushed them with oil and baked them at 425°F for about 15 minutes until crispy. The result was just as delicious but a bit lighter! I've also tried adding a layer of refried beans before the beef for extra flavor and texture. My kids actually prefer them with a milder cheese blend, while my partner and I love them with a spicy pepper jack mixed in.
Perfect Pairings
These crispy chimichangas pair wonderfully with a side of Mexican rice and refried beans for a complete meal. For toppings, serve with fresh guacamole, sour cream, pico de gallo, and your favorite hot sauce. A light and tangy cabbage slaw makes the perfect accompaniment to balance the richness of the chimichangas. For beverages, try a classic margarita, horchata, or even a cold Mexican beer with a lime wedge.
 pin it
Frequently Asked Questions
- → Can I make these ahead of time?
Yes, you can prepare the beef filling up to 2 days ahead and store it in the refrigerator. You can also assemble the chimichangas and refrigerate them (uncooked) for a few hours before frying. For best results, fry them just before serving to maintain the crispy texture.
- → How do I prevent the chimichangas from falling apart while cooking?
Make sure to roll them tightly and place them seam-side down first when frying to seal the edge. If they're still opening up, secure them with toothpicks during cooking (just remember to remove before serving).
- → Can I freeze these chimichangas?
Yes, you can freeze them before or after cooking. To freeze uncooked chimichangas, wrap individually in plastic wrap and store in a freezer bag for up to 3 months. For cooked chimichangas, let cool completely before freezing. Reheat frozen cooked chimichangas in a 375°F oven until heated through.
- → What can I substitute for ground beef?
Ground turkey, chicken, or pork work well as substitutes. For a vegetarian option, you can use refried beans, black beans, or plant-based meat alternatives along with sautéed vegetables.
- → What's the difference between a chimichanga and a burrito?
The main difference is that chimichangas are deep-fried, while burritos are typically served soft. Chimichangas originated when a burrito was accidentally dropped into a deep fryer, creating a crispy exterior that became popular in its own right.
Conclusion
These Crispy Beef and Cheese Chimichangas offer the perfect balance of textures and flavors in every bite. The golden-brown exterior gives way to seasoned beef and melty cheese that will satisfy even the pickiest eaters. They're impressive enough for guests but simple enough for a weeknight dinner. Serve them with your favorite toppings for a meal everyone will love!