
 pin it
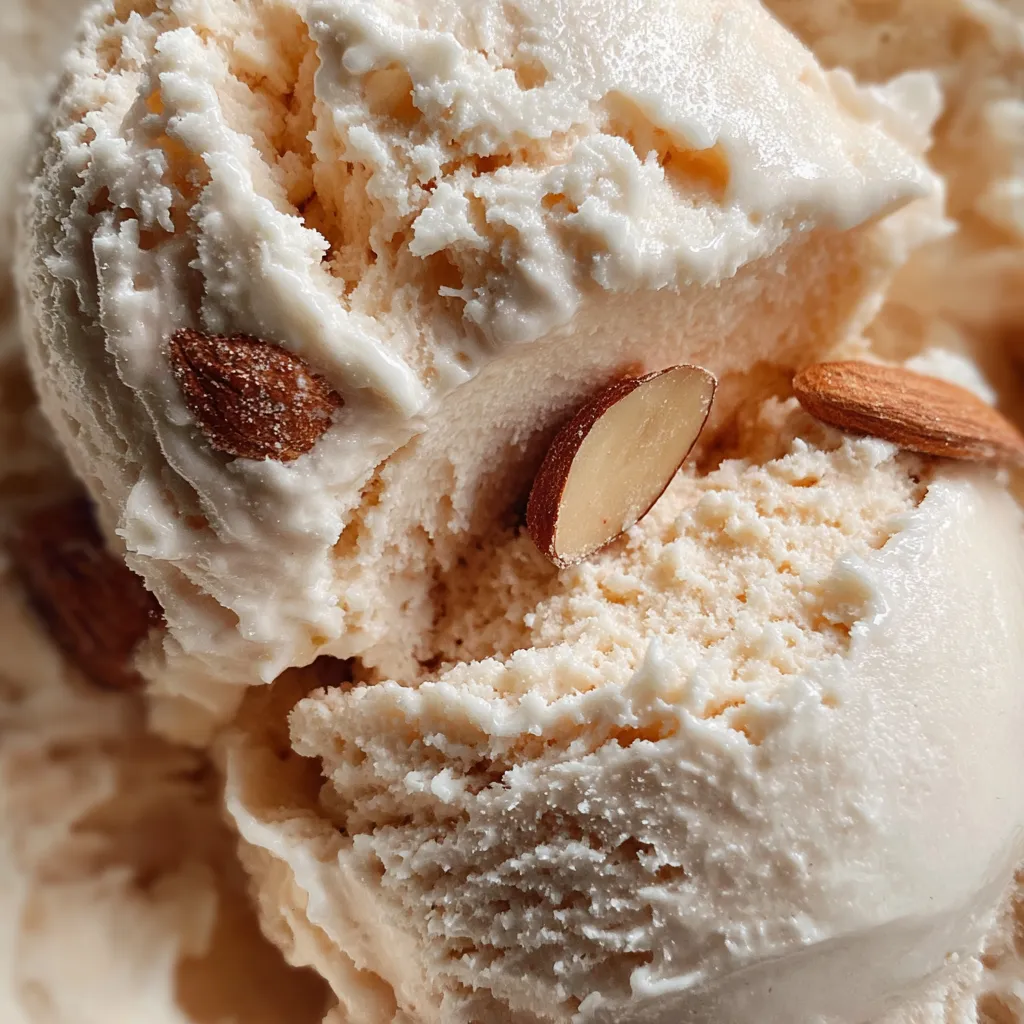
I first encountered this recipe when I was searching for a dairy-free alternative that wouldn't compromise on taste or texture. What drew me to this particular version was its simplicity - just almond milk, sweetener, and vanilla. The magic happens during the churning process, where the almond milk transforms into this incredibly smooth and creamy base. The key is using high-quality almond milk and not over-sweetening it, allowing the natural nutty flavor to shine through. When I add the chocolate chips during the last few minutes of churning, they distribute perfectly throughout, creating delightful pockets of chocolate in every spoonful. The finished product has this beautiful ivory color with flecks of chocolate, and the texture is so rich and satisfying. I love how it scoops just like traditional ice cream but feels lighter and more refreshing. The vanilla adds that classic ice cream flavor while the almond milk provides a subtle nuttiness that makes each bite interesting.
Why I love this recipe
This recipe has become my absolute favorite for so many reasons. First, it's incredibly versatile - I can have delicious homemade ice cream ready in just a few hours without any complicated techniques or hard-to-find ingredients. The fact that it's dairy-free means everyone can enjoy it, including my lactose-intolerant friends and family members. But what I love most is how clean and light it tastes compared to heavy cream-based ice creams. There's something so satisfying about creating something this delicious with just three simple ingredients. It makes me feel like a kitchen magician! The texture is phenomenal - smooth, creamy, and it doesn't get icy like some homemade ice creams do. Plus, I can control exactly what goes into it, using pure ingredients without any artificial additives. Every time I serve this to guests, they're amazed that it's homemade and dairy-free. It's become my signature dessert, and I love how it allows me to be creative with different toppings and mix-ins.
What You Need From Your Kitchen
- Unsweetened Almond Milk: Use as the creamy dairy-free base, ensure it's well-shaken before measuring
- Maple Syrup: Provides natural sweetness and helps prevent ice crystals from forming
- Pure Vanilla Extract: Adds classic ice cream flavor, use real vanilla for best results
- Mini Chocolate Chips: Fold in during last minutes of churning for even distribution
- Fresh Strawberries: Slice just before serving to maintain freshness and color
- Sea Salt: Enhances all flavors and balances the sweetness perfectly
Let's Make These Together
- Prepare the base mixture
- Start by whisking together your almond milk, maple syrup, vanilla, and sea salt in a large bowl. This creates the foundation of your ice cream, so make sure everything is well combined and taste for sweetness level.
- Chill thoroughly
- Cover your mixture and refrigerate for at least 2 hours or overnight. This step is crucial for proper churning and achieving that perfect creamy texture we're after.
- Churn to perfection
- Pour the chilled mixture into your ice cream maker and let it work its magic for 20-25 minutes. You'll see it transform from liquid to a thick, creamy consistency.
- Add the chocolate chips
- In the final 2 minutes of churning, add your mini chocolate chips. They'll distribute evenly throughout, creating delicious pockets of chocolate in every bite.
- Freeze and serve
- Transfer to an airtight container and freeze for at least 2 hours for firm scooping, then serve with fresh strawberry slices and enjoy your homemade creation!
 pin it
Switch Things Up
I discovered this recipe during a particularly hot summer when I was craving ice cream but wanted something lighter and dairy-free. I was skeptical at first - could three ingredients really create something this delicious? But after that first spoonful, I was completely converted. The creamy texture rivals any premium ice cream, and the clean almond flavor is so refreshing. Now it's become my go-to dessert for dinner parties because it's so easy to make ahead and always impresses guests. I love experimenting with different toppings - sometimes I'll add crushed cookies, fresh berries, or even a drizzle of chocolate sauce. The best part is watching people's faces when they realize it's completely dairy-free!
Perfect Pairings
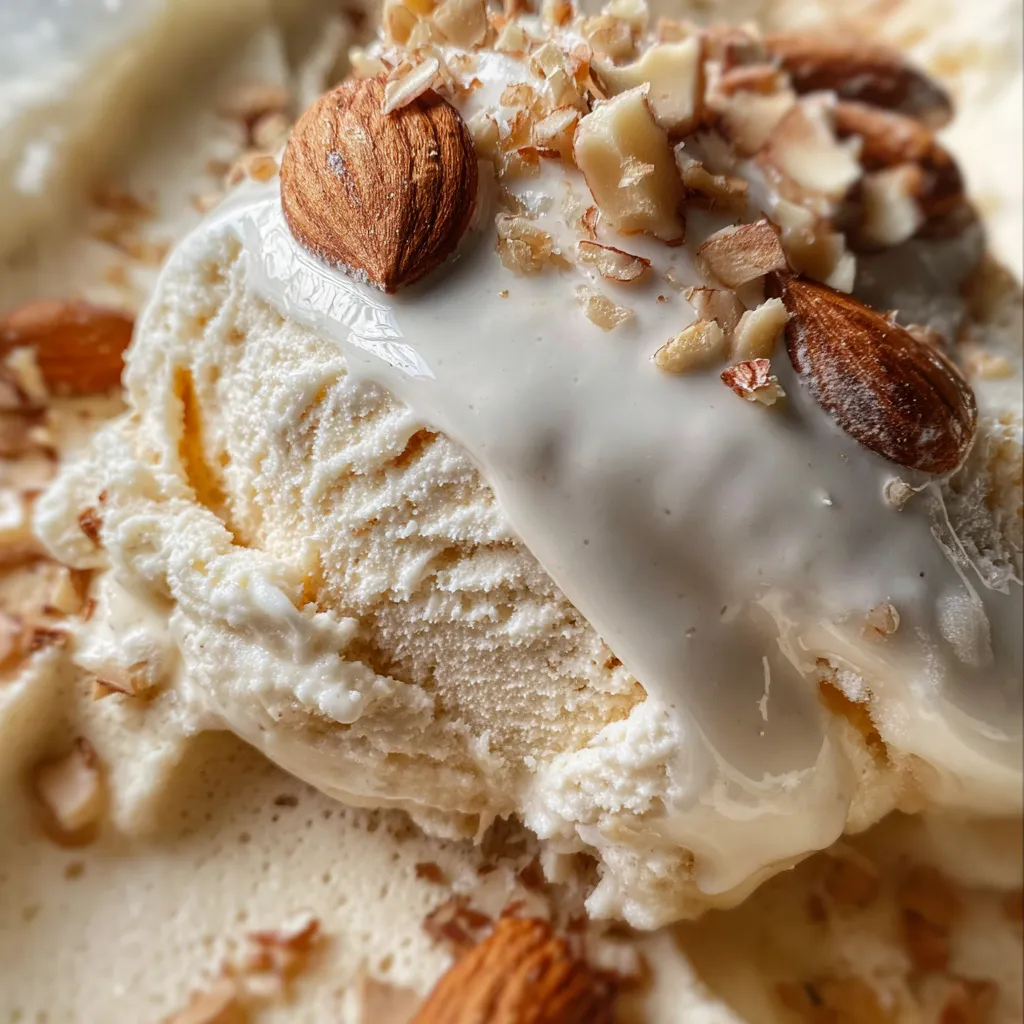
This almond milk ice cream pairs beautifully with warm desserts like apple crisp or chocolate brownies. Try serving it alongside fresh fruit salads, or create an ice cream sandwich using your favorite cookies. For a more sophisticated presentation, serve it with a drizzle of caramel sauce and toasted almonds. It also makes an excellent base for milkshakes when blended with additional almond milk and your favorite fruits.
 pin it
Frequently Asked Questions
- → Can I make this without an ice cream maker?
Yes! You can use the freeze-and-stir method. Pour the mixture into a shallow dish, freeze for 45 minutes, then stir vigorously. Repeat this process 4-5 times until creamy.
- → How long does homemade almond milk ice cream last?
Store in an airtight container in the freezer for up to one week. After that, it may develop ice crystals and lose its smooth texture.
- → Can I use other plant-based milks instead of almond?
Absolutely! Coconut milk creates an extra rich texture, while oat milk provides a creamy consistency. Avoid thin milks like rice milk as they won't churn as well.
- → Why is my ice cream too hard to scoop?
Homemade ice cream freezes harder than store-bought. Let it sit at room temperature for 5-10 minutes before scooping, or add an extra tablespoon of sweetener to keep it softer.
- → Can I make this recipe sugar-free?
Yes! Replace the maple syrup with sugar-free sweeteners like erythritol or stevia. Start with less and adjust to taste, as these sweeteners can be more potent than maple syrup.
Conclusion
This three-ingredient almond milk ice cream proves that simple can be spectacular. With its creamy texture and rich vanilla flavor, it's the perfect dairy-free dessert that everyone will love. The addition of chocolate chips and fresh strawberries makes it feel extra special. Store any leftovers in the freezer for up to one week, though it rarely lasts that long in our house!