
 pin it
The first time I pulled a tray of these out of the oven I felt a little like a magician: thin, crackly-edged brownie cookies hugging a pillowy, eggless cookie dough that somehow made everything taste like the best part of every dessert. I remember thinking, aloud and embarrassingly proud, that this was the kind of thing you’d bring to any party and watch it disappear in minutes.
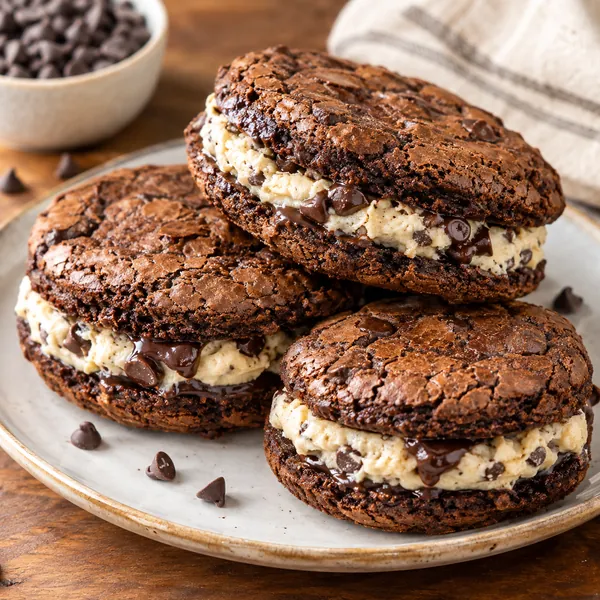
My version leans into contrast. The cookies bake thin and crinkled with a deep cocoa flavor and a few chocolate chips for pockets of molten chocolate. The filling is intentionally eggless and luxuriously smooth, so you get safe, scoopable cookie dough that pipes neatly between two warmed cookies. I finish each sandwich with a pinch of flaky sea salt to sharpen the sweetness.
Expect a bit of assembly: you bake two thin batches, whip up the edible dough, and sandwich while the cookies are still a touch warm so the filling presses into soft ridges. They hold shape well, travel beautifully, and reward anyone willing to wait the short chilling step before serving.
Why I love this recipe
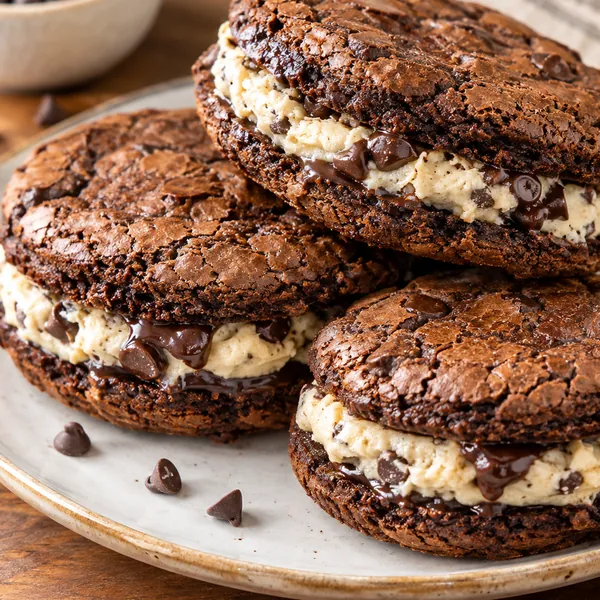
This dessert is all about delightful contradictions: crisp, crinkly cookie edges that give way to a dense, fudgy interior, wrapped around a creamy, slightly chewy cookie dough center. The brownie cookie exterior has that bittersweet cocoa backbone, while the cookie dough brings buttery sweetness and little pops of chocolate from mini chips. Texturally it keeps you interested bite after bite.
Timing-wise it’s forgiving. The cookie dough filling is eggless and safe to taste as you make it, and the cookies themselves are quick, baking in just under twelve minutes. The recipe is budget-friendly—no exotic ingredients—and uses pantry staples. It travels well in a single layer and keeps for several days in the fridge. Reheat briefly at room temperature or give a five-minute sit at room temp so the filling softens. These sandwiches please kids and dessert-savvy adults alike and are especially nice when you want something celebratory without fuss.
What You Need From Your Kitchen
- Unsalted butter: Use room-temperature for filling and melted for cookies as directed.
- Dark chocolate: Melted into the cookie dough for deep chocolate richness and gloss.
- Cocoa powder: Dutch-process preferred for darker color and rounded chocolate flavor.
- All-purpose flour: Heat-treat half for the filling to make the dough safe to eat.
- Light brown sugar: Adds moisture and caramel notes to both cookie and filling.
- Large eggs: In the brownie cookie batter for structure and fudgy chew.
- Mini chocolate chips: Small chips disperse evenly and stay soft in the cold filling.
- Flaky sea salt: Sprinkled on top to lift the sweetness with a crunchy finish.
Let's Make These Together
- Melt and mix
- Melt the dark chocolate with butter in a heatproof bowl over simmering water or gently in short bursts in the microwave. Stir until completely glossy and combined; the smell will be warm and chocolatey and the mixture will be smooth with no streaks when it is ready.
- Make brownie cookie dough
- Whisk your sugars into the warm chocolate, then beat in eggs and vanilla until the batter looks shiny and thick. Fold in cocoa, flour and a pinch of salt until streaks disappear; a scoop should hold its shape but still wobble slightly when ready for scooping and baking.
- Bake thin cookies
- Scoop two-tablespoon portions onto lined sheets, flatten them slightly, and bake at 350°F for about ten to twelve minutes. Look for crackled tops and firm edges while the center remains slightly soft; that glossy crackle and fudgy center are the cues you want.
- Prepare the filling
- Cream room-temperature butter with sugars until fluffy, then add the heat-treated flour, vanilla and milk until you reach a soft, pipeable consistency. Fold in mini chips; the filling should be thick, smooth, and hold soft peaks when it’s ready to assemble.
- Assemble warm
- Pair cookies by size while still slightly warm; pipe or spoon a tablespoon of filling onto one cookie and top with its partner. Press gently so the filling spreads to the edges and the sides show little chocolate chips; flaky salt on top signals it’s finished.
- Chill briefly
- Place assembled sandwiches in a single layer on a tray and chill for at least 30 minutes so the filling firms. The edges will become pleasantly chewy and the center will set slightly; that cooled firmness tells you they are ready to serve.
 pin it
Switch Things Up
I’ve tried several swaps that work well. Use semi-sweet or milk chocolate for a sweeter cookie exterior, or add a teaspoon of instant espresso powder to the melted chocolate to sharpen the cocoa flavor. For the filling, substitute browned butter for plain butter to introduce nutty brown-butter notes; chill it well as browned butter firms faster. If you want a nutty twist, fold in 1/3 cup finely chopped toasted pecans or walnuts into the filling for crunch and contrast.
For a gluten-free option, swap the all-purpose flour in the cookies and the heat-treated flour for a 1:1 gluten-free blend that contains xanthan gum. Be mindful that the texture shifts slightly—cookies tend to spread less and the filling may be marginally softer, so chill a bit longer before serving.
Perfect Pairings
These sandwich cookies pair beautifully with a small scoop of vanilla ice cream or a cup of freshly brewed strong coffee — the bitterness of coffee balances the sugar and deepens the chocolate. For an afternoon treat, serve with a tall glass of cold milk or a simple oat milk latte. If you want something festive, a dessert wine like a tawny port or a creamy coffee liqueur served in small pours complements the fudgy texture and cookie dough richness.
 pin it
Frequently Asked Questions
- → Is the cookie dough filling safe to eat raw?
Yes. The filling is eggless and uses heat-treated flour to remove any risk from raw flour. I toast the flour in a dry skillet or bake it at 350°F for five to seven minutes, then cool it before mixing. That makes the dough safe to taste and serve.
- → How long do the sandwiches keep?
Store them in an airtight container in the refrigerator for up to five days. The filling stays stable chilled, though cookies soften over time. Bring to room temperature for 15 to 20 minutes before eating to restore a softer bite and the best texture balance.
- → Can I freeze these cookies?
Yes, freeze the assembled sandwiches in a single layer on a tray, then transfer to a freezer-safe bag for up to two months. Thaw in the fridge overnight and then sit at room temperature for 20 minutes before serving for the best texture and flavor.
- → Why do the cookies crack on top?
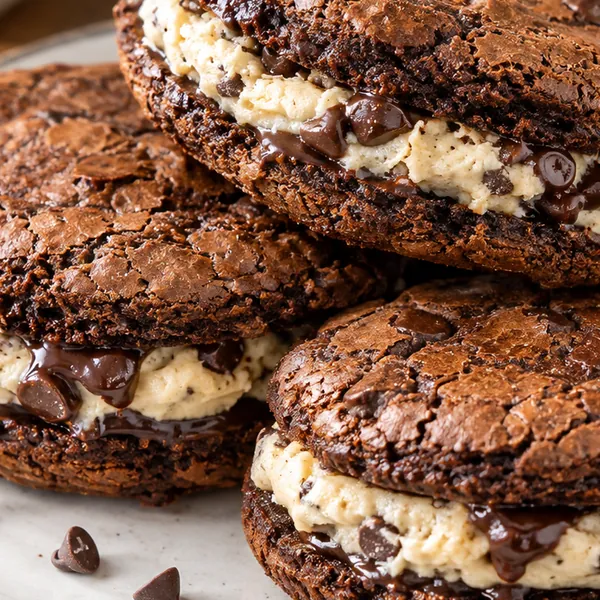
The crackled top is a sign of the batter’s sugar and chocolate interacting with heat; it’s desirable. It happens when the exterior sets while gases expand, creating fine fissures. If your cookies are glossy and cracked, they are baked correctly.
- → My filling was too soft, how to fix it?
If your filling seems too soft, chill it in the refrigerator for 15 to 30 minutes; the butter will firm up and the texture will thicken. You can also add a tablespoon more heat-treated flour or a touch more powdered sugar to stiffen while keeping flavor balanced.
- → Can I make the cookies ahead and assemble later?
Absolutely. Bake and cool the cookies completely, then store in an airtight container at room temperature for one day or freeze for longer. Make the filling when ready and assemble shortly before serving to keep the contrast between warm cookie and chilled filling if desired.
Conclusion
If you like the idea of everything delightful about brownies and cookie dough at once, these sandwiches deliver in a portable, repeat-worthy format. They’re showy enough for a gathering but easy enough to make on a leisurely afternoon. Bake the cookies, whip up the eggless filling, sandwich, chill briefly and enjoy the crackle, the chew and the pillowy dough center. Make a batch, share them, and savor the way the flaky salt makes each bite pop.