
 pin it
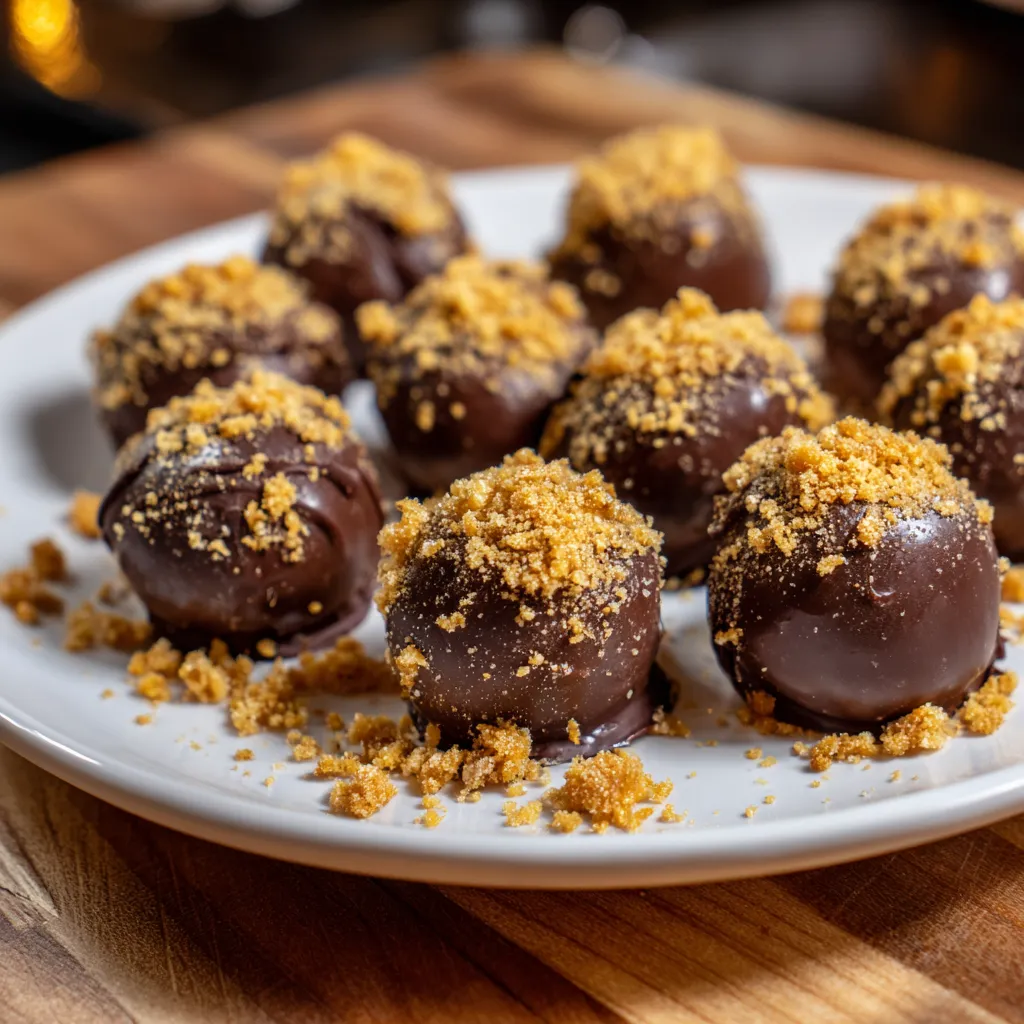
I absolutely fell in love with this recipe the first time I made it for my family's Christmas gathering. The process is so satisfying - mixing the creamy base with those crunchy Butterfinger pieces, then rolling them into perfect little spheres. When I dip each ball into the melted chocolate and watch that glossy coating form, I feel like a professional chocolatier. The texture contrast is what makes these so special - that smooth, sweet cream cheese center gives way to bursts of crunchy, buttery candy pieces. Every bite is a delightful surprise. I love how the recipe is forgiving too; if the mixture is too soft, just chill it a bit longer. The aroma of melting chocolate fills the kitchen and gets everyone excited. These have become my signature treat, and I'm always getting requests for the recipe.
Why I love this recipe
What I love most about this recipe is how it transforms simple ingredients into something that tastes incredibly gourmet. There's something magical about crushing up those Butterfinger bars and watching them become part of something even more delicious. The no-bake aspect means I can make these even on the hottest summer days without heating up the kitchen. They're also incredibly versatile - I've made them for birthday parties, office potlucks, and quiet family movie nights. The fact that they get better after sitting in the fridge for a day makes them perfect for make-ahead entertaining. I love seeing people's faces light up when they take that first bite and realize these aren't store-bought. The recipe is so reliable that I've never had a batch turn out poorly, which gives me confidence every time I make them. Plus, they're beautiful enough to give as gifts but simple enough that my kids can help make them.
What You Need From Your Kitchen
- Cream cheese: softened to room temperature for smooth mixing
- Powdered sugar: sifted to prevent lumps in the mixture
- Butterfinger candy bars: crushed into small pieces for texture
- Dark chocolate chips: melted with coconut oil for smooth coating
- Coconut oil: helps create a glossy chocolate finish
- Vanilla extract: enhances the overall flavor profile
Let's Make These Together
- Prepare the base mixture
- Start by ensuring your cream cheese is at room temperature for easy mixing. Beat it until completely smooth, then gradually incorporate the powdered sugar and vanilla extract until the mixture is light and fluffy.
- Add the candy pieces
- Gently fold in the crushed Butterfinger pieces, making sure they're evenly distributed throughout the cream cheese base. The mixture should hold together well but still be soft.
- Chill and shape
- Refrigerate the mixture for at least an hour to firm up, then roll into uniform 1-inch balls. This step is crucial for maintaining shape during the chocolate coating process.
- Prepare chocolate coating
- Melt the chocolate chips with coconut oil using short microwave intervals, stirring frequently to prevent burning. The mixture should be smooth and glossy when ready.
- Coat and finish
- Working quickly, dip each chilled ball into the melted chocolate, allowing excess to drip off before placing on parchment paper. Refrigerate until set completely.
 pin it
Switch Things Up
I first discovered this recipe when I was looking for a last-minute dessert for a potluck dinner. I had some leftover Butterfinger bars from Halloween and wondered what I could do with them. After some experimenting in the kitchen, these amazing candy balls were born! The combination of the smooth cream cheese base with the crunchy candy pieces was absolutely perfect. Now, whenever I have guests coming over or need to bring something to a gathering, these are my go-to treat. They're so much easier than traditional candy making, but they taste just as professional. The kids always get excited when they see me crushing up the Butterfinger bars because they know what's coming next!
Perfect Pairings
These Butterfinger balls pair wonderfully with a cold glass of milk or a hot cup of coffee. They're also delicious alongside other no-bake treats like peanut butter cups or chocolate truffles for a candy buffet. For special occasions, serve them with champagne or dessert wine. They make an excellent addition to holiday cookie platters and complement other chocolate desserts beautifully.
 pin it
Frequently Asked Questions
- → Can I use milk chocolate instead of dark chocolate?
Yes, you can substitute milk chocolate for dark chocolate. The flavor will be sweeter and milder, but the texture and coating process remain the same.
- → How long do these keep in the refrigerator?
These Butterfinger balls will stay fresh in an airtight container in the refrigerator for up to one week. They actually taste better after a day as the flavors meld together.
- → Can I freeze these for longer storage?
Absolutely! These freeze beautifully for up to 3 months. Thaw them in the refrigerator for a few hours before serving for the best texture.
- → What if my mixture is too soft to roll?
If the mixture is too soft, simply refrigerate it for an additional 30 minutes. You can also add a bit more powdered sugar to help firm it up.
- → Can I use other candy bars instead of Butterfinger?
Yes! This recipe works well with other crunchy candy bars like Crunch bars, Heath bars, or even crushed cookies. Adjust the amount based on your preference.
Conclusion
These Butterfinger balls are the perfect combination of creamy, crunchy, and chocolatey goodness. They're incredibly easy to make and always a crowd-pleaser at parties, holidays, or whenever you need a sweet treat. The no-bake nature makes them perfect for busy schedules, and they store beautifully in the refrigerator for up to a week. Once you try these homemade candy treats, you'll never want to buy store-bought again!