
 pin it
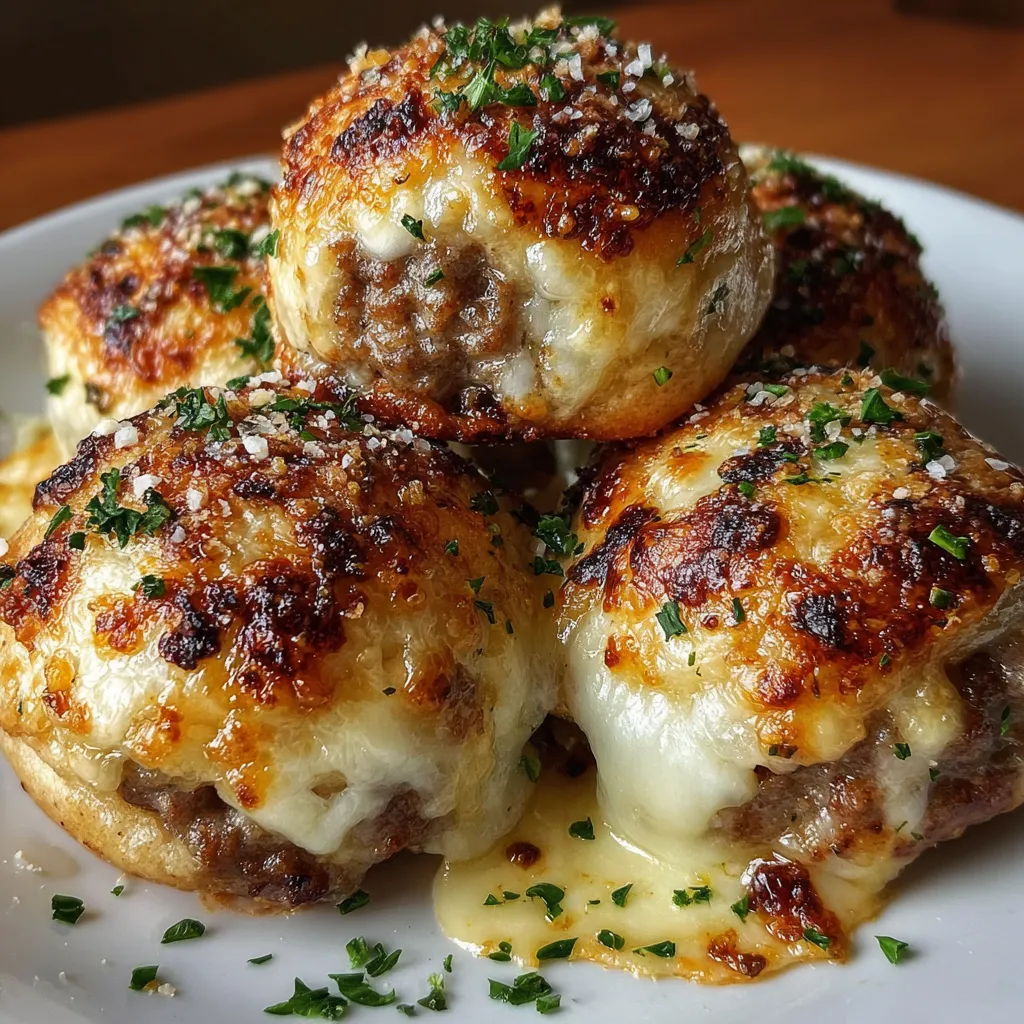
I first discovered the magic of cheeseburger bombs during a potluck dinner at my friend's house. Someone had brought these golden, cheese-filled treasures, and I couldn't stop eating them. The combination of flaky biscuit dough wrapped around seasoned ground beef and melted cheese was pure genius. I immediately asked for the recipe and have been making my own version ever since. What I love most about this recipe is how it takes all the classic flavors of a cheeseburger and packages them in a fun, bite-sized format. The dough becomes perfectly golden and crispy on the outside while staying soft and fluffy inside. The beef mixture is seasoned just right with garlic and onion powder, and the cheese melts into gooey perfection. The garlic parmesan butter that gets brushed on top adds an extra layer of flavor that makes these absolutely irresistible. Every time I make them, I'm reminded of that first bite and how it completely changed my perspective on comfort food.
Why I love this recipe
What I absolutely love about this cheeseburger bomb recipe is how it perfectly captures the essence of a classic cheeseburger in a completely new and exciting way. There's something magical about biting into that golden, crispy exterior and discovering the warm, cheesy, beefy goodness inside. It's like a surprise party in your mouth! I also love how versatile this recipe is - you can customize the filling with different cheeses, add some diced onions, or even throw in some bacon bits. The fact that you can make them ahead of time and just bake them when you're ready is another huge plus for me. They're perfect for entertaining because they're handheld and not messy like regular burgers. Plus, they always get such an amazing reaction from guests - people are always impressed by how creative and delicious they are. The combination of convenience, flavor, and that wow factor makes this one of my absolute favorite recipes to share with friends and family.
What You Need From Your Kitchen
- Ground beef: Brown and season with spices, then drain excess fat
- Biscuit dough: Flatten into circles for wrapping the filling
- Mozzarella cheese: Shred and mix with cheddar for the filling
- Cheddar cheese: Combine with mozzarella for extra cheesy flavor
- Parmesan cheese: Grate and sprinkle on top for golden crust
- Butter: Melt and brush on top before baking
- Fresh parsley: Chop finely and sprinkle on finished bombs
Let's Make These Together
- Brown the seasoned ground beef
- Heat your skillet over medium-high heat and cook the ground beef, breaking it up as it browns. Season generously with garlic powder, onion powder, salt, and pepper. Once fully cooked, drain any excess grease and set aside to cool slightly.
- Prepare and flatten the biscuit dough
- Remove the biscuits from the tube and separate them carefully. Using your hands or a rolling pin, flatten each biscuit into a 4-inch circle. Be gentle to avoid tearing the dough, but make sure it's large enough to wrap around the filling.
- Fill and seal the bombs
- Place about 2 tablespoons of the seasoned ground beef in the center of each flattened biscuit. Top with a generous amount of the cheese mixture. Carefully bring the edges of the dough up and around the filling, pinching the seams tightly to create a sealed ball.
- Add the finishing touches and bake
- Place the sealed bombs seam-side down on a greased baking sheet. Brush each one with melted butter and sprinkle with parmesan cheese. Bake at 375°F for 18-20 minutes until golden brown and cooked through. Finish with fresh parsley.
 pin it
Switch Things Up
I remember the first time I made these cheeseburger bombs - I was looking for something fun to serve at my nephew's birthday party. I had some leftover ground beef and a tube of biscuit dough in the fridge, and I thought, why not combine them? The kids went absolutely crazy for them! Now, whenever I'm having people over, these are always on the menu. I love how you can prep them in the morning and just pop them in the oven when guests arrive. The smell alone gets everyone excited. I've experimented with different cheese combinations over the years, but the classic cheddar and mozzarella blend remains my favorite. Sometimes I'll add a little bit of diced jalapeños for the adults who like some heat. The garlic parmesan topping was actually my sister's suggestion, and it took these from good to absolutely incredible!
Perfect Pairings
These cheeseburger bombs pair wonderfully with classic sides like crispy french fries, onion rings, or a fresh coleslaw. For a lighter option, serve them alongside a simple green salad with ranch dressing. They're also fantastic with sweet potato fries or roasted vegetables. As for drinks, they go perfectly with ice-cold beer, lemonade, or even a nice glass of red wine. For dipping, try them with ketchup, mustard, or a garlic aioli. If you're serving them at a party, consider adding some pickle spears and chips on the side to complete the burger experience.
 pin it
Frequently Asked Questions
- → Can I make these ahead of time?
Yes! You can assemble the bombs completely and refrigerate them for up to 4 hours before baking. You may need to add an extra 2-3 minutes to the baking time if they're cold from the refrigerator.
- → What if my dough tears while wrapping?
If the dough tears, simply pinch it back together and continue wrapping. You can also patch small tears with a bit of extra dough. The key is to work gently and not overstuff the bombs.
- → Can I freeze these cheeseburger bombs?
Absolutely! You can freeze them either before or after baking. If freezing unbaked, place them on a baking sheet until solid, then transfer to a freezer bag. Bake directly from frozen, adding 5-7 minutes to the cooking time.
- → What other fillings can I use?
You can customize these with different meats like ground turkey or chicken, add diced vegetables like onions or peppers, or try different cheese combinations. Just make sure any vegetables are cooked first to prevent excess moisture.
- → How do I know when they're fully cooked?
The bombs are done when they're golden brown on the outside and the internal temperature reaches 165°F (74°C). The dough should be cooked through and not doughy in the center.
- → Can I make these vegetarian?
Yes! You can substitute the ground beef with cooked mushrooms, lentils, or a plant-based meat alternative. Just make sure the filling is well-seasoned and not too wet.
Conclusion
These Garlic Parmesan Cheeseburger Bombs are the ultimate comfort food that combines all the best flavors of a classic cheeseburger in a fun, handheld format. The golden, crispy exterior gives way to a perfectly seasoned beef and cheese filling that's absolutely irresistible. They're perfect for game day, family dinners, or any time you want to wow your guests with something special. The best part? They're surprisingly easy to make and can be prepared ahead of time. Once you try these, they'll become a regular in your recipe rotation!