
 pin it
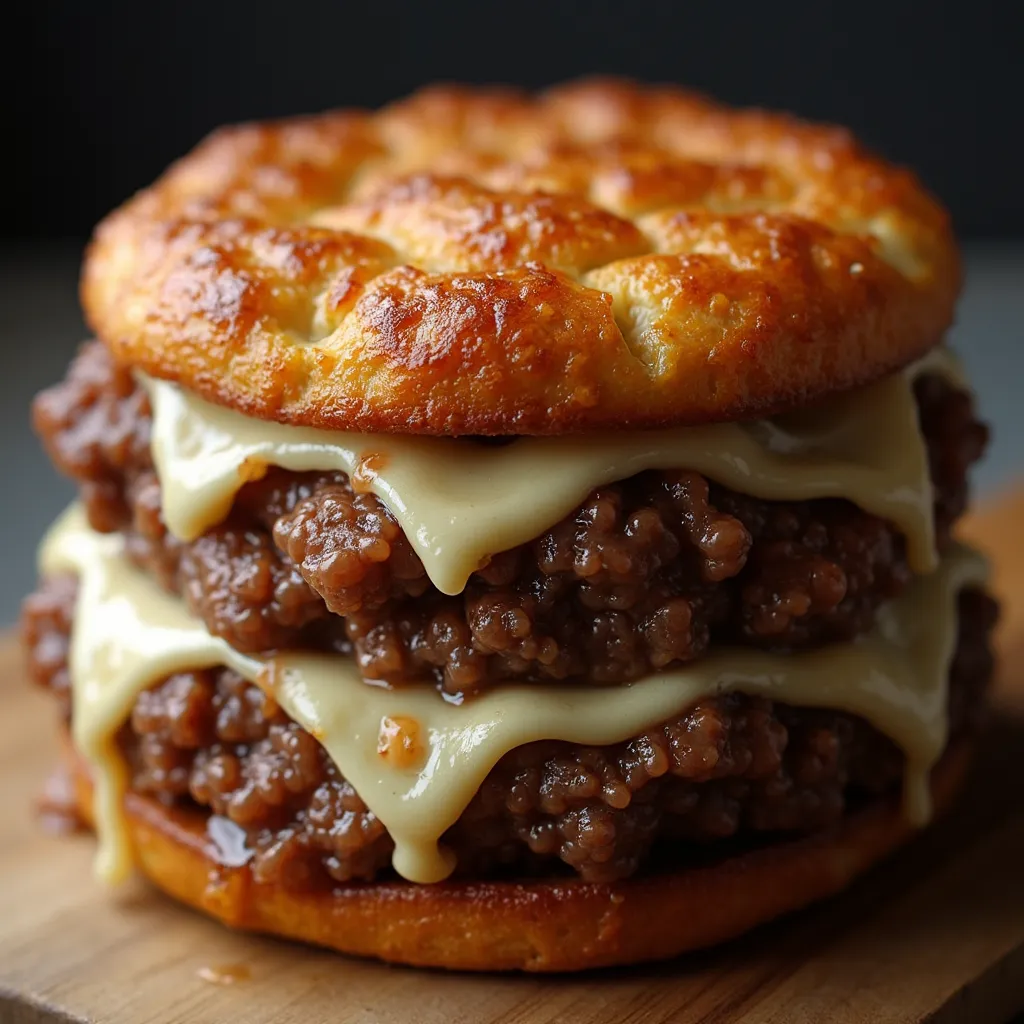
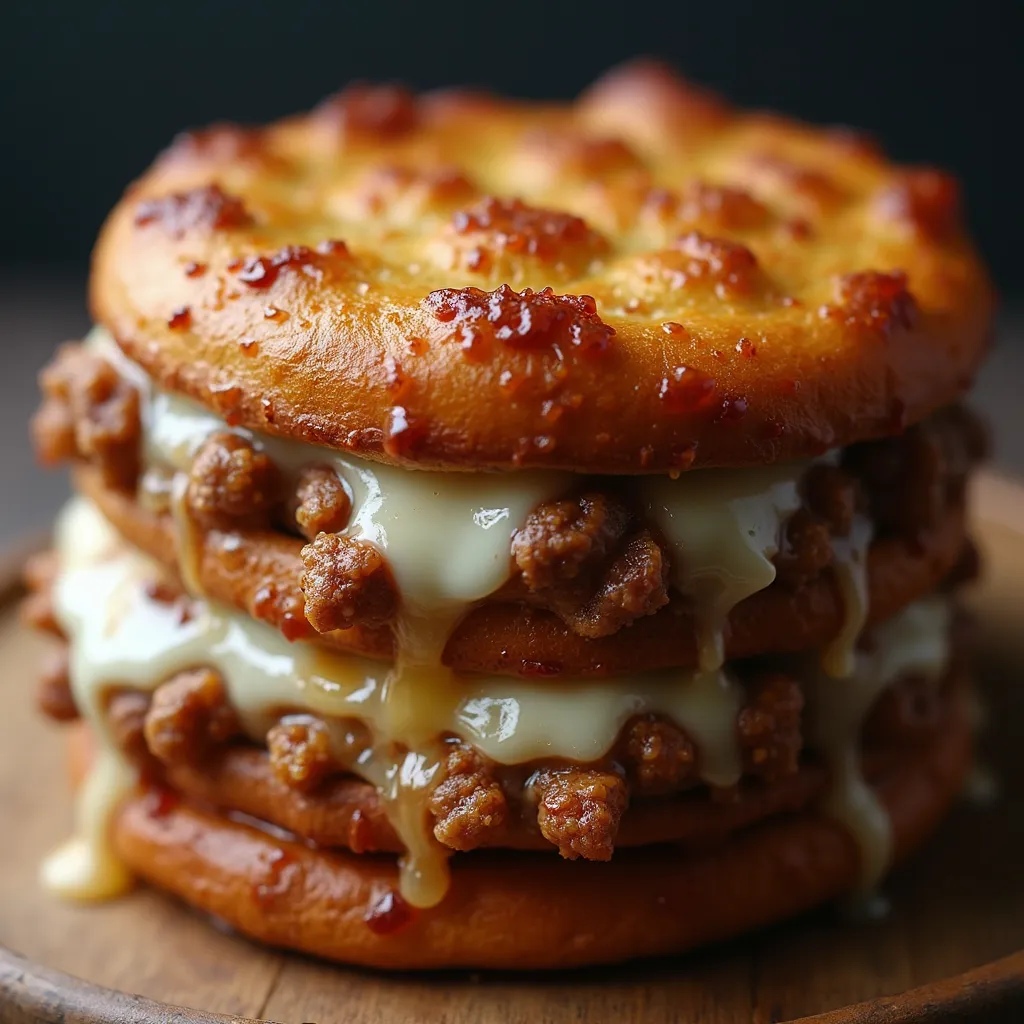
I still vividly remember my first encounter with these incredible Cheesy Sloppy Joe Sliders at my cousin's Super Bowl party several years ago. The moment I bit into that perfect combination of soft brioche bun, seasoned beef, and gooey melted cheese, I was immediately transported to comfort food heaven. What struck me most was how the sweetness of the brioche perfectly balanced the savory, slightly tangy beef filling, while the cheese brought everything together in a glorious, melty embrace. After shamelessly enjoying three of them, I had to ask for the recipe. Since then, I've made these sliders my own, tweaking the seasoning and perfecting the cheese-to-meat ratio. They've become my signature dish for casual gatherings, and I've never met anyone who could resist their charm.
Why I love this recipe
I absolutely adore this Cheesy Sloppy Joe Sliders recipe for so many reasons. First, there's something magical about the way the cheese melts and stretches when you pull the sliders apart – it creates that Instagram-worthy moment that's as satisfying to photograph as it is to eat. But beyond the aesthetics, I love how versatile this recipe is. It's fancy enough for gatherings but simple enough for a Tuesday night dinner. The combination of flavors – the slight sweetness from the brown sugar, the tanginess from the ketchup and Worcestershire, and the rich savoriness from the beef and cheese – creates this perfect harmony that hits all the right notes on your palate. What I perhaps love most, though, is how these sliders bring people together. There's something about handheld comfort food that makes conversation flow and creates memories. Every time I serve these, the room gets quieter as everyone eats, then livelier as they share their appreciation. That's the true magic of good food, isn't it?
What You Need From Your Kitchen
- Ground beef: Use 80/20 ground beef for the best flavor and juiciness
- Brioche buns: Look for small slider-sized brioche buns for the perfect bite and texture
- Cheddar cheese: Freshly shredded melts better than pre-packaged
- Onion and garlic: Provides aromatic base for the meat mixture
- Brown sugar: Adds a slight sweetness that balances the savory flavors
- Worcestershire sauce: Gives depth and umami flavor to the meat mixture
Let's Make These Together
- Prepare the meat filling
- Start by browning the ground beef in a large skillet, breaking it into small crumbles. Once cooked through, add the diced onion and minced garlic, cooking until softened. The aromatics will create the foundation of flavor for your sliders.
- Create the sauce
- Stir in ketchup, brown sugar, Worcestershire sauce, mustard powder, paprika, salt, and pepper. Let it simmer until slightly thickened, creating that perfect sloppy joe consistency that's neither too runny nor too dry. This sweet and tangy sauce is what makes these sliders so irresistible.
- Assemble the sliders
- Arrange the bottom halves of your brioche buns in a baking dish, then spoon the meat mixture evenly over them. Sprinkle generously with cheese, then add the top buns. Brush with melted butter and add sesame seeds if desired for that beautiful golden finish.
- Bake to perfection
- Cover and bake until warmed through, then remove the foil and bake a bit longer until the tops are golden and the cheese is completely melted. This two-step baking process ensures that the sliders are heated evenly without burning the tops.
- Stack and serve
- Let the sliders cool slightly, then arrange them in a stack for a dramatic presentation that showcases the layers of melted cheese and saucy meat. Serve while still warm for the best cheese-pull experience!
 pin it
Switch Things Up
I remember the first time I made these sliders for my family game night, I was a bit worried about the mess factor – after all, they're called 'sloppy' for a reason! But I discovered a little trick: letting the meat mixture cool slightly before assembling helps keep everything more contained. I've also experimented with different cheese varieties; while cheddar is my go-to, pepper jack adds a nice kick for those who enjoy a bit of heat. Sometimes I'll add a thin layer of cream cheese beneath the meat for an extra creamy element that complements the savory beef beautifully.
Perfect Pairings
These Cheesy Sloppy Joe Sliders pair wonderfully with crispy sweet potato fries or a simple vinegar-based coleslaw that cuts through the richness of the sliders. For a more complete spread, add a fresh green salad with a light vinaigrette or some pickled vegetables that provide a tangy contrast. If you're serving these at a gathering, consider offering corn chips with homemade guacamole as an appetizer. For beverages, a cold craft beer, sparkling lemonade, or even a fruity iced tea complements these sliders perfectly, balancing their savory, cheesy goodness.
 pin it
Frequently Asked Questions
- → Can I make these sliders ahead of time?
Absolutely! You can prepare the meat mixture up to 2 days ahead and refrigerate it. When ready to serve, reheat the mixture, assemble the sliders, and bake as directed. You can also assemble the entire dish up to 4 hours before baking and keep refrigerated.
- → What's the best cheese to use for these sliders?
Medium or sharp cheddar provides the classic flavor and excellent meltability seen in the photo. However, you can experiment with other cheeses like Monterey Jack, provolone, or American cheese. For extra indulgence, use a combination of cheddar and mozzarella for the ultimate cheese pull.
- → Can I use store-bought sloppy joe sauce instead?
Yes, you can substitute 1 cup of store-bought sloppy joe sauce for the ketchup, brown sugar, Worcestershire sauce, and spices. However, the homemade version allows you to control the sweetness and spice levels for a more customized flavor.
- → How do I prevent the buns from getting soggy?
To prevent soggy buns, let the meat mixture cool slightly before assembling. Additionally, you can lightly toast the inside of the bun bottoms before adding the filling, creating a barrier against the moisture.
- → Can I freeze leftover sliders?
Yes, you can freeze assembled but unbaked sliders for up to 3 months. Wrap them tightly in plastic wrap and then foil. When ready to serve, thaw in the refrigerator overnight and bake as directed, adding a few extra minutes to the baking time.
Conclusion
These Cheesy Sloppy Joe Sliders are truly a crowd-pleasing delight that brings together the best of comfort food. The combination of seasoned beef, melted cheese, and soft brioche buns creates a perfect balance of flavors and textures. Whether you're serving them for a casual family dinner or at your next gathering, they're guaranteed to disappear quickly. The best part is how simple they are to prepare, proving that impressive dishes don't always require complicated techniques or ingredients.