
 pin it
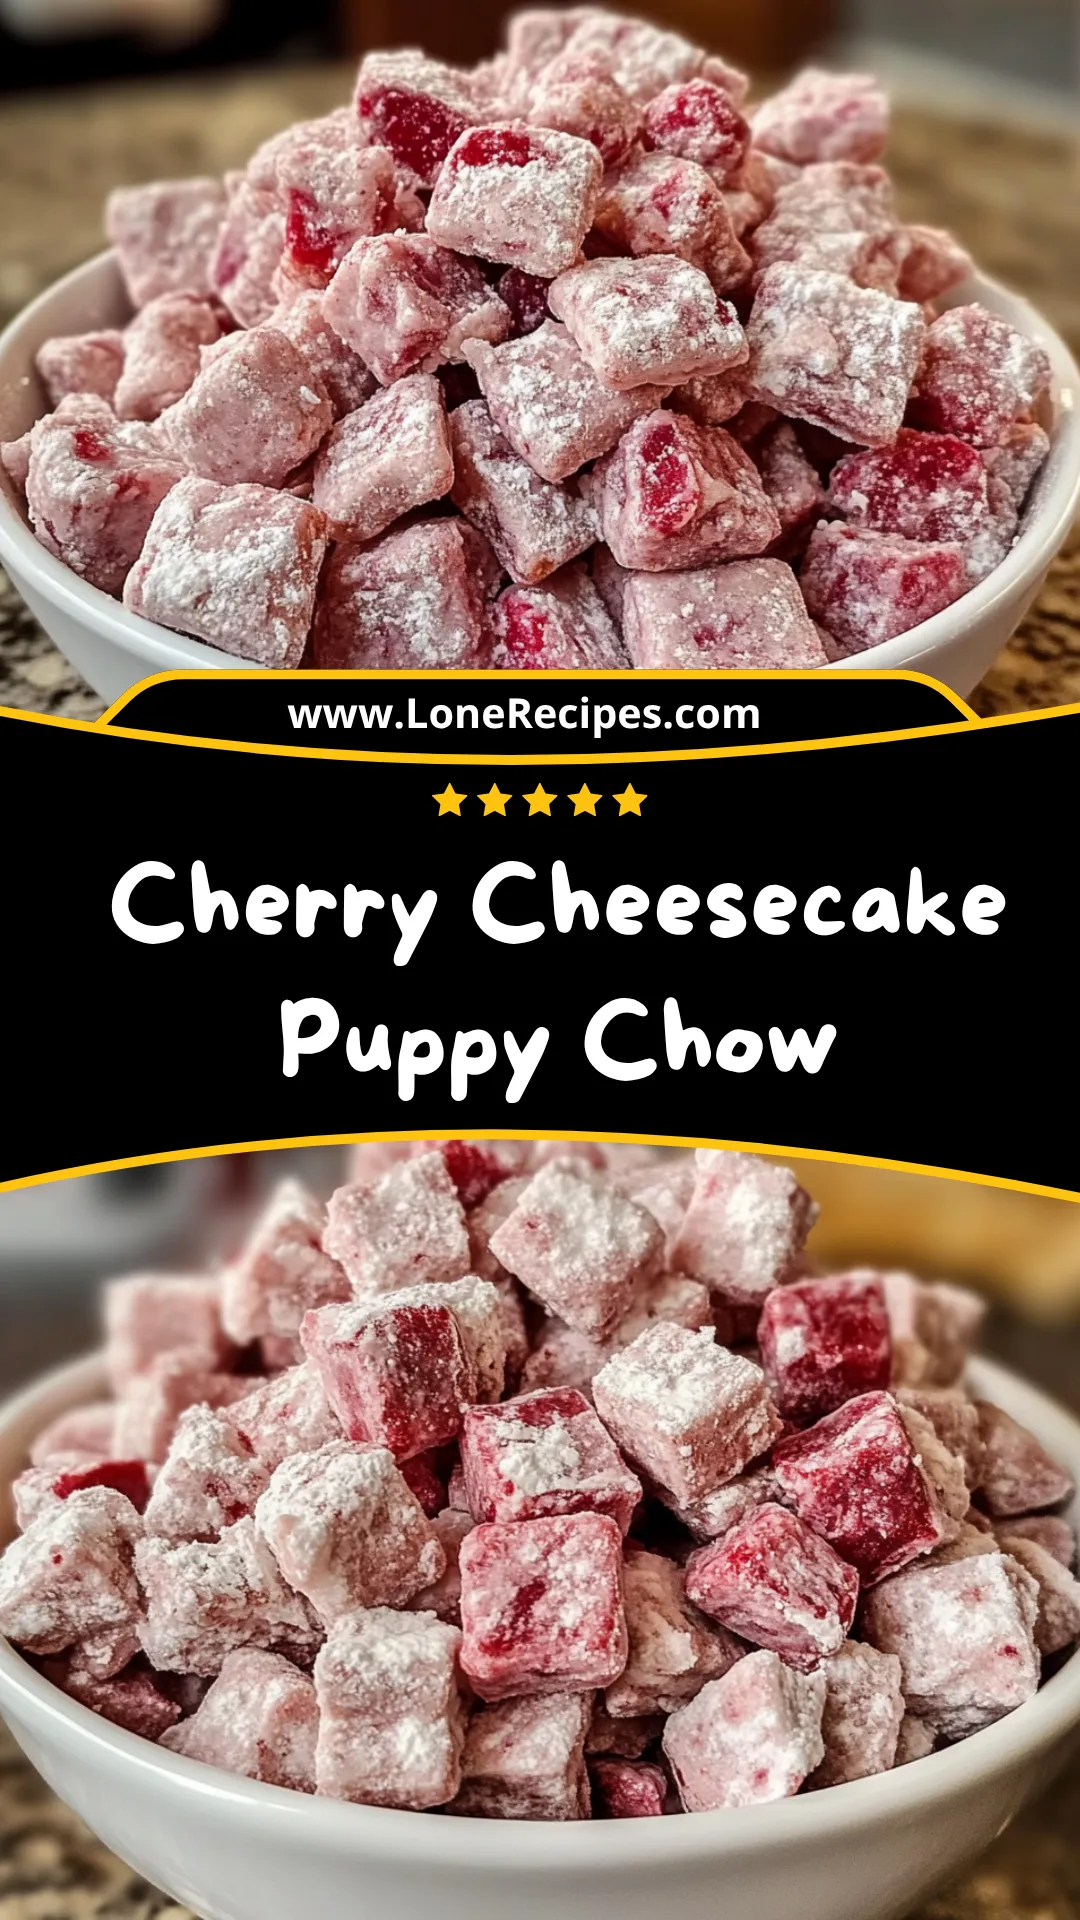
I first discovered puppy chow at a friend's holiday party years ago, and I was instantly hooked on that perfect combination of sweet, crunchy, and powdery goodness. When I decided to create my own version, I wanted something that would stand out from the classic peanut butter variety. The inspiration struck me when I was enjoying a slice of cherry cheesecake - why not combine those flavors into puppy chow? The process is wonderfully simple: you melt white chocolate with a touch of cream cheese to create that cheesecake base, then fold in some cherry pie filling for that fruity sweetness. Once you coat the cereal and toss it in powdered sugar, you get these gorgeous pink and white pieces that look almost too pretty to eat. The texture is absolutely perfect - you get that satisfying crunch from the cereal, the smooth sweetness from the chocolate coating, and little bursts of cherry flavor throughout. It's like having your favorite dessert in snackable form.
Why I love this recipe
What I absolutely love about this Cherry Cheesecake Puppy Chow is how it manages to be both elegant and fun at the same time. The beautiful pink color makes it feel special enough for parties and celebrations, but it's so easy to make that I can whip it up any time I'm craving something sweet. I love that it requires no baking - just melting, mixing, and tossing - which means I can make it even on the busiest days. The flavor combination is what really sets it apart though. You get that classic cheesecake tanginess balanced with sweet cherry notes, all wrapped up in that addictive puppy chow format. It's the kind of treat that appeals to both kids and adults, and I've never served it without getting requests for the recipe. Plus, it stores well and actually gets even better after sitting for a few hours as the flavors meld together. It's become my signature treat, and I love how something so simple can bring so much joy to people.
What You Need From Your Kitchen
- Chex cereal: Use as the crunchy base, any variety works well
- White chocolate chips: Melt with cream cheese for the coating base
- Cream cheese: Softened and mixed with chocolate for cheesecake flavor
- Cherry pie filling: Blend into chocolate mixture for fruity sweetness
- Powdered sugar: Generously coat the finished pieces for classic puppy chow texture
- Vanilla extract: Add to enhance the overall flavor profile
Let's Make These Together
- Prepare your workspace
- Start by gathering all your ingredients and setting up your workspace. Pour the cereal into a large bowl and line a baking sheet with parchment paper. This will make the process much smoother and prevent any sticky situations.
- Create the coating
- In a microwave-safe bowl, combine the white chocolate chips and softened cream cheese. Heat in 30-second intervals, stirring thoroughly between each heating, until you have a smooth, creamy mixture. This is the base of your delicious coating.
- Add the cherry magic
- Stir the cherry pie filling and vanilla extract into your melted chocolate mixture. Watch as it transforms into a beautiful pink color that's going to make your puppy chow absolutely irresistible.
- Coat and shake
- Pour this gorgeous pink mixture over your cereal and mix until every piece is coated. Then transfer everything to a large bag with powdered sugar and shake until each piece looks like a little powdered cloud.
 pin it
Switch Things Up
I remember the first time I made this Cherry Cheesecake Puppy Chow for a family gathering. I was a bit nervous about trying a new flavor combination, but I'm so glad I did! The moment I saw those beautiful pink and white pieces coming together, I knew I had something special. My kids couldn't stop sneaking pieces while I was trying to get it into the serving bowl. Even my picky eater nephew, who usually turns his nose up at anything pink, was asking for seconds and thirds. Now it's become our go-to treat for birthdays, holidays, and movie nights. I love how simple it is to make, yet it always looks so impressive. Sometimes I'll make a double batch because I know it disappears so quickly. The cherry flavor really makes it feel special and different from regular puppy chow.
Perfect Pairings
This Cherry Cheesecake Puppy Chow pairs beautifully with a cold glass of milk or a warm cup of coffee. It's also delicious alongside fresh strawberries or vanilla ice cream for an extra indulgent dessert. For parties, I love serving it with other no-bake treats like chocolate-covered strawberries or mini cheesecakes. It also makes a wonderful addition to a dessert charcuterie board alongside nuts, dried fruits, and chocolate. The sweet cherry flavor complements citrus fruits beautifully, so consider adding some orange slices or lemon bars to your spread.
 pin it
Frequently Asked Questions
- → Can I use different flavors of pie filling?
Absolutely! Strawberry, raspberry, or even blueberry pie filling would work wonderfully in this recipe. Just maintain the same amount for consistent results.
- → How long does this puppy chow stay fresh?
When stored in an airtight container, this treat will stay fresh for up to one week. The flavors actually improve after the first day as they meld together.
- → Can I make this gluten-free?
Yes! Simply substitute the regular Chex cereal with gluten-free Chex cereal. All other ingredients are naturally gluten-free.
- → What if my chocolate mixture seizes up?
If your chocolate becomes grainy or seizes, try adding a tablespoon of warm cream or milk and stirring gently. Prevention is key - don't overheat and ensure cream cheese is fully softened.
- → Can I double this recipe?
Definitely! This recipe doubles beautifully. Just make sure you have a large enough bag for the powdered sugar coating step, or work in batches.
Conclusion
This Cherry Cheesecake Puppy Chow is the perfect combination of sweet, creamy, and crunchy all in one delightful bite. It's incredibly easy to make and requires no baking, making it ideal for last-minute treats or when you want something special without the fuss. The beautiful pink color and irresistible taste make it a crowd-pleaser every time. Store it in an airtight container and it'll stay fresh for days - though I doubt it will last that long! This recipe is definitely going into your regular rotation of go-to treats.