
 pin it
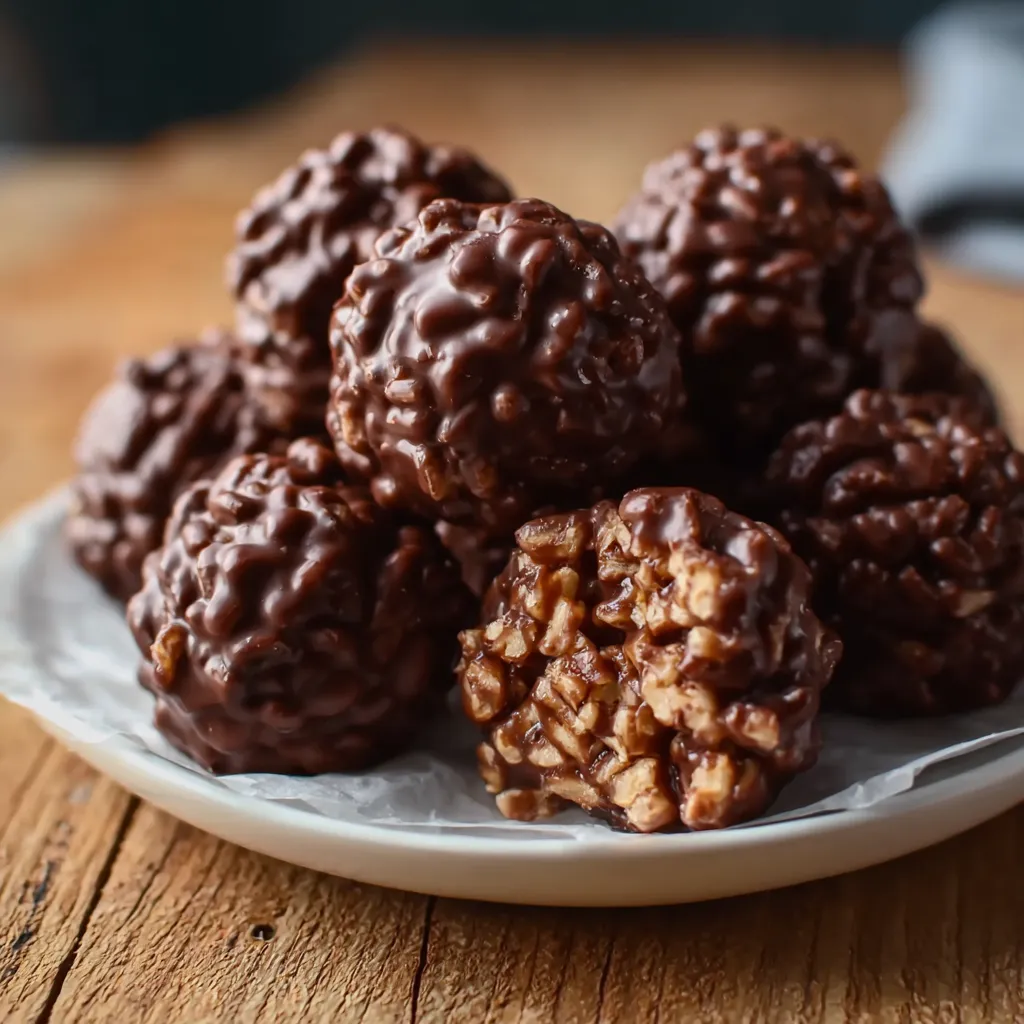
I first encountered these magical little spheres at a friend's potluck dinner, and I knew immediately that I had to learn how to make them. The combination of familiar childhood flavors with an elegant chocolate coating was absolutely genius. When I finally got the recipe and tried making them myself, I was amazed at how simple the process was. You simply melt marshmallows with butter, mix in the rice krispies, form them into balls, and then coat them in melted chocolate. The result is a treat that looks incredibly sophisticated but requires minimal skill to create. What I love most about this recipe is how it transforms something as simple as breakfast cereal into an elegant dessert that's perfect for any occasion. The texture contrast is phenomenal - you get that satisfying crunch from the cereal while the chocolate coating melts smoothly on your tongue.
Why I love this recipe
What makes this recipe absolutely special to me is its perfect balance of simplicity and sophistication. There's something magical about taking humble ingredients like rice krispie cereal and transforming them into these gorgeous, professional-looking treats. I love that it's a no-bake recipe, which means I can make them even when it's too hot to turn on the oven, or when I need a quick dessert solution. The recipe is incredibly forgiving - even if your chocolate coating isn't perfectly smooth or your balls aren't perfectly round, they still taste amazing. But what I truly adore is how these treats bring out the kid in everyone. I've served them at elegant dinner parties and watched sophisticated adults giggle with delight at the familiar crunch. They're conversation starters, mood lifters, and pure happiness wrapped in chocolate. Plus, they store beautifully, so I can make a batch and have instant treats ready for unexpected guests or my own sweet cravings.
What You Need From Your Kitchen
- Rice Krispie Cereal: Provides the signature crunch and texture base
- Mini Marshmallows: Creates the binding agent when melted with butter
- Butter: Helps melt marshmallows smoothly and adds richness
- Dark Chocolate Chips: Forms the elegant outer coating
- Coconut Oil: Creates smooth, glossy chocolate coating
- Vanilla Extract: Enhances overall flavor profile
Let's Make These Together
- Melt marshmallow base
- Start by melting your butter and marshmallows together in the microwave, stirring every 30 seconds until you have a smooth, creamy mixture that will bind everything together perfectly.
- Mix in the crunch
- Quickly fold in your rice krispie cereal while the marshmallow mixture is still warm and pliable, ensuring every piece gets coated for maximum flavor and binding.
- Shape your treats
- With slightly damp hands, roll the mixture into evenly-sized balls and place them on a parchment-lined tray, then chill them to firm up the structure.
- Create chocolate coating
- Melt your chocolate with a touch of coconut oil for that perfect glossy finish, then dip each chilled ball for a professional-looking coating that will set beautifully.
 pin it
Switch Things Up
I remember the first time I made these for my nephew's birthday party - I was frantically searching for a last-minute dessert that wouldn't require hours in the kitchen. As I rolled each ball and watched the chocolate coating set, I realized I had stumbled upon something special. The kids at the party went absolutely wild for them, and even the adults were sneaking seconds. What started as a desperate dessert solution became my signature treat. Now, whenever there's a gathering, people specifically request these chocolate rice krispie balls. The best part is watching everyone's face light up when they take that first bite and hear the satisfying crunch.
Perfect Pairings
These chocolate rice krispie balls pair beautifully with a cold glass of milk or a warm cup of coffee for adults. They make excellent additions to dessert platters alongside fresh strawberries and whipped cream. For parties, serve them with vanilla ice cream or alongside other bite-sized treats like mini cupcakes. They also complement fruit-based desserts wonderfully, as the chocolate and crispy texture provide a nice contrast to softer, lighter sweets.
 pin it
Frequently Asked Questions
- → Can I use different types of cereal?
Yes! You can substitute with other puffed cereals like Cocoa Puffs or even add crushed cookies for variety, just maintain the same volume measurements.
- → How long do these keep fresh?
Store them in the refrigerator for up to one week in an airtight container, or freeze for up to 3 months for longer storage.
- → Can I use white chocolate instead?
Absolutely! White chocolate, milk chocolate, or even colored candy melts work wonderfully and create different flavor profiles and visual appeal.
- → Why is my chocolate coating not smooth?
Make sure your chocolate isn't overheated and add a tablespoon of coconut oil or shortening to help create a smoother, more workable coating.
- → Can I make these ahead of time?
Yes! These are perfect make-ahead treats. Prepare them 1-2 days in advance and store covered in the refrigerator until ready to serve.
Conclusion
These chocolate rice krispie balls are the perfect combination of nostalgia and indulgence. They're incredibly easy to make, requiring no baking skills whatsoever, yet they look professionally crafted. The contrast between the crunchy cereal and smooth chocolate coating creates an irresistible texture that appeals to all ages. Whether you're making them for a party, school event, or just because you're craving something sweet, these treats never disappoint.