
 pin it
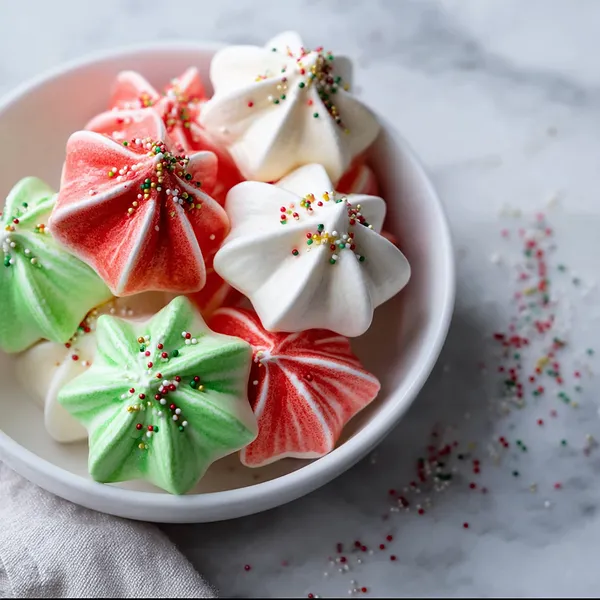
I first discovered the magic of meringue cookies during a holiday baking class years ago. The instructor showed us how to transform simple egg whites and sugar into these ethereal, melt-in-your-mouth treats, and I was instantly captivated. What I love most about these Christmas meringues is how they capture the spirit of the season in every bite. The vibrant red and green swirls remind me of candy canes and Christmas trees, while the pristine white meringues look like fresh snow. Making them has become a cherished holiday tradition in my home. There's something almost meditative about watching the mixer work its magic, turning liquid egg whites into stiff, glossy peaks. I love experimenting with different shapes—stars, Christmas trees, swirls—and letting my creativity shine. The best part is when they come out of the oven, perfectly crisp on the outside with just a hint of chewiness inside. They're not just cookies; they're edible ornaments that bring joy to everyone who sees them.
Why I love this recipe
This recipe holds a special place in my heart for so many reasons. First, it's incredibly versatile—you can make these meringues in any color or shape to match your holiday theme. Second, they're surprisingly simple once you master the technique of whipping egg whites to stiff peaks. But what I truly love is how they bring people together. Every time I make these, I'm surrounded by family and friends eager to help pipe, sprinkle, and taste-test. They're light enough that you don't feel guilty having a few (or several!), yet sweet and satisfying. I also appreciate that they're naturally gluten-free, making them inclusive for guests with dietary restrictions. The texture is absolutely divine—that satisfying crunch followed by a delicate, airy interior. And let's talk about how gorgeous they look! The festive colors and glossy finish make them worthy of any holiday spread. Whether I'm gifting them to neighbors, bringing them to a cookie exchange, or simply enjoying them with my morning coffee, these meringues never fail to make me smile.
What You Need From Your Kitchen
- Egg Whites: Separate carefully, ensuring no yolk gets into the whites, and bring to room temperature for best volume
- Granulated Sugar: Add gradually to create a stable, glossy meringue
- Cream of Tartar: Stabilizes the egg whites and helps achieve stiff peaks
- Vanilla Extract: Mix in after sugar is fully incorporated for sweet flavor
- Food Coloring Gel: Add to separate portions of meringue for festive red and green colors
- Holiday Sprinkles: Sprinkle on top immediately after piping for decorative finish
Let's Make These Together
- Prepare Your Workspace
- Before you begin, make sure all your equipment is spotlessly clean and completely dry. Even the tiniest bit of grease or water can prevent your egg whites from reaching their full fluffy potential. Preheat your oven to the low temperature of 200°F and line your baking sheets with parchment paper. Having everything ready before you start whipping ensures a smooth, stress-free process.
- Whip to Perfection
- Start beating your room-temperature egg whites with a pinch of salt until they become foamy. Add the cream of tartar, which acts as your secret weapon for stability. Now comes the most important part: add your sugar gradually, one tablespoon at a time, beating well between each addition. This patience pays off! Once all the sugar is in, crank up the speed and watch the magic happen as your meringue transforms into glossy, stiff peaks that hold their shape beautifully. Add vanilla at the end for that sweet touch.
- Create Festive Colors
- Divide your gorgeous meringue into three bowls. Keep one pristine white, then gently fold red gel coloring into one portion and green into another. Use a light hand here—you want to color the meringue without deflating all those beautiful air bubbles you worked so hard to create. The gel colors work much better than liquid because they won't add extra moisture.
- Pipe with Creativity
- Here's where you get to be an artist! Load your piping bag fitted with a star tip, and if you're feeling fancy, stripe the colored meringues inside the bag for that stunning swirled effect. Pipe your meringues onto the prepared baking sheets in whatever shapes make you happy—stars, swirls, Christmas trees, or classic kisses. Work quickly and top them with sprinkles right away while they're still sticky.
- Bake and Dry
- Slide your baking sheets into that low-temp oven and let them do their thing for 90 minutes. The key to perfect meringues is patience—resist the urge to peek! After baking, turn off the oven but leave the meringues inside to cool completely. This slow drying process is what gives them that perfect crispy-yet-slightly-chewy texture. Once completely cool, peel them gently from the parchment and enjoy your beautiful handiwork!
 pin it
Switch Things Up
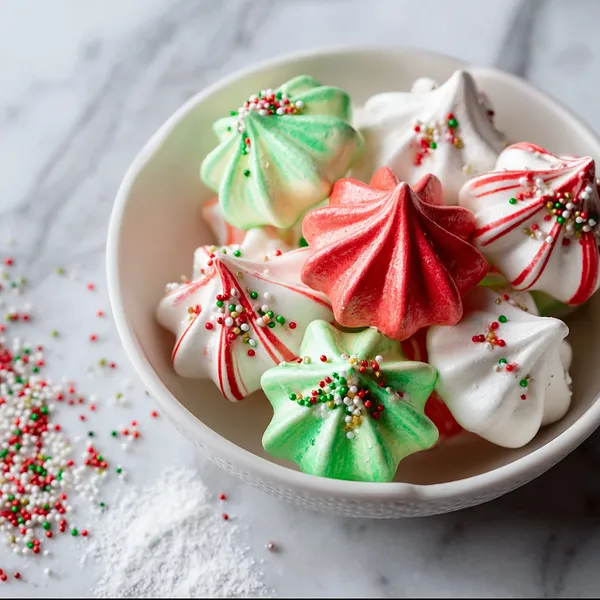
I'll never forget the first time I made these meringues for our family Christmas party. I was a bit nervous about getting the peaks just right, but once I started whipping the egg whites and watching them transform into glossy, cloud-like perfection, I was hooked. The moment I piped the first swirl of red meringue onto the baking sheet, I knew these were going to be special. My kids gathered around the kitchen, mesmerized by the colors, and insisted on helping with the sprinkles. When they came out of the oven, crispy and beautiful, everyone wanted to know the secret. Now, they've become our family's signature Christmas treat—something we make together every year while listening to holiday music and sipping hot cocoa.
Perfect Pairings
These delicate Christmas meringue cookies pair wonderfully with a variety of holiday beverages and desserts. Serve them alongside hot chocolate or peppermint mochas for a festive treat. They also complement rich desserts like chocolate truffles or fudge brownies, providing a light, sweet contrast. For a stunning dessert platter, arrange them with shortbread cookies, gingerbread, and candy canes. They're also perfect for gifting—pack them in clear cellophane bags tied with festive ribbons for beautiful homemade presents.
 pin it
Frequently Asked Questions
- → Can I make meringues on a humid day?
It's not recommended to make meringues when humidity is high, as the moisture in the air prevents them from drying properly and can make them sticky or chewy. Choose a dry day for best results, or use a dehumidifier in your kitchen.
- → Why didn't my meringue form stiff peaks?
The most common reasons are: presence of any grease or egg yolk in your bowl, egg whites that were too cold, or adding sugar too quickly. Make sure your equipment is spotlessly clean, use room-temperature eggs, and add sugar gradually while beating continuously.
- → How do I know when my meringues are done baking?
Properly baked meringues should be completely dry to the touch and easily lift off the parchment paper without sticking. They should be crisp on the outside. If they feel soft or sticky, they need more drying time in the turned-off oven.
- → Can I use liquid food coloring instead of gel?
It's best to use gel food coloring for meringues. Liquid food coloring adds extra moisture that can affect the stability of your meringue and make it harder to achieve the right consistency. Gel colors are concentrated and won't compromise your meringue's texture.
- → How should I store meringue cookies?
Store your meringues in an airtight container at room temperature, away from moisture. They'll stay crispy for up to 2 weeks. Never refrigerate them, as the moisture in the fridge will make them soft and sticky. You can also layer them between sheets of parchment paper to prevent breakage.
- → Can I freeze meringue cookies?
While you can freeze meringues in an airtight container for up to 1 month, they're best enjoyed fresh. If you do freeze them, allow them to come to room temperature in their container before opening to prevent condensation from forming on the surface.
Conclusion
These Christmas meringue cookies are the perfect addition to your holiday baking lineup. They're light, festive, and incredibly fun to make with family and friends. The vibrant colors and delicate texture make them a standout treat at any Christmas party or cookie exchange. Plus, they're naturally gluten-free, so everyone can enjoy them. Store them in an airtight container to keep them crispy, and watch as they disappear from your dessert table in no time!