
 pin it
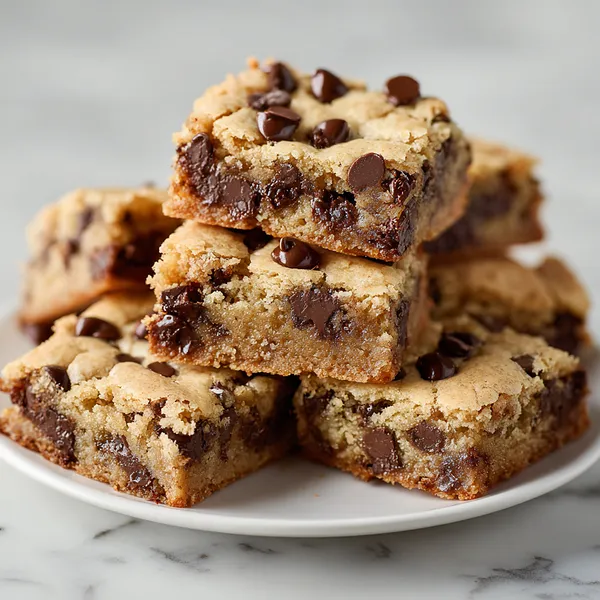
I first discovered the magic of cookie bars during a particularly busy week when I was craving homemade cookies but didn't have time for the traditional drop-cookie method. These bars solve that problem beautifully - you get all the flavor and satisfaction of chocolate chip cookies in a fraction of the time. The texture is what really sets them apart from regular cookies. They're thick and chewy with slightly crispy edges, and the chocolate chips stay perfectly distributed throughout. What I love most is how they cut into perfect squares, making them ideal for sharing or packaging as gifts. Every bite delivers that perfect balance of buttery cookie dough and melted chocolate that makes chocolate chip cookies so beloved. The recipe is forgiving too - even if you're not an experienced baker, these bars will turn out beautifully every time.
Why I love this recipe
This recipe holds a special place in my heart because it represents everything I love about baking - simplicity, reliability, and absolutely delicious results. There's something so satisfying about pressing that cookie dough into the pan and knowing that in just 25 minutes, you'll have a whole tray of perfect treats. I love how these bars bring people together - I've never served them without getting requests for the recipe. They're my go-to for everything from school events to office parties because they travel well and always disappear quickly. The best part is watching people's faces when they take that first bite and realize these aren't just any ordinary cookie bars. The texture is spot-on, the chocolate distribution is perfect, and they have that homemade taste that you just can't get from store-bought treats. Plus, they're versatile enough to dress up with different mix-ins or enjoy perfectly plain.
What You Need From Your Kitchen
- All-purpose flour: sift before measuring for best results
- Brown sugar: pack firmly when measuring for proper sweetness
- Butter: melt and let cool slightly before mixing
- Eggs: bring to room temperature for easier mixing
- Chocolate chips: reserve some for topping before baking
- Vanilla extract: use pure vanilla for best flavor
Let's Make These Together
- Prepare your baking setup
- Start by preheating your oven and lining your pan with parchment paper. This ensures even baking and makes removal so much easier. Having everything ready before you start mixing makes the whole process smoother.
- Create the base mixture
- Whisk your melted butter with brown sugar until it's smooth and creamy. Add eggs one at a time, then vanilla. This creates the rich, sweet foundation that gives these bars their amazing flavor and chewy texture.
- Incorporate dry ingredients carefully
- Mix your flour, baking powder, and salt separately first, then gradually fold into the wet mixture. Don't overmix - just stir until you can't see any flour streaks. Overmixing leads to tough bars.
- Add the chocolate magic
- Fold in most of your chocolate chips, saving some for the top. This ensures chocolate in every bite while giving you those beautiful chocolate chips visible on the surface after baking.
- Press and bake to perfection
- Spread the dough evenly in your pan - it will be thick! Sprinkle remaining chips on top and bake until golden. The center should look slightly underdone when you remove them.
 pin it
Switch Things Up
I remember the first time I made these cookie bars - I was running late for a school bake sale and needed something quick but impressive. Instead of spending hours rolling individual cookies, I pressed the dough into a pan and hoped for the best. When I pulled them out of the oven, golden and perfectly set, I knew I'd found my new go-to recipe. The kids at the bake sale went crazy for them, and parents kept asking for the recipe. Now, whenever I'm short on time but want to bring something homemade, these bars are my secret weapon. They taste like you spent hours in the kitchen, but they're ready in under an hour from start to finish.
Perfect Pairings
These cookie bars pair beautifully with a cold glass of milk or a warm cup of coffee. For a special dessert, serve them warm with a scoop of vanilla ice cream and a drizzle of caramel sauce. They also make an excellent base for ice cream sandwiches - just let them cool completely and sandwich your favorite ice cream between two bars. During the holidays, try serving them alongside hot chocolate or spiced cider for the ultimate comfort food experience.
 pin it
Frequently Asked Questions
- → Can I use different types of chocolate chips?
Absolutely! Try dark chocolate chips, white chocolate chips, or even a mixture. You can also use chocolate chunks for a more rustic look and varied chocolate distribution.
- → How do I know when the bars are done?
The edges should be golden brown and set, while the center should still look slightly soft. A toothpick inserted in the center should come out with a few moist crumbs - not completely clean.
- → Can I make these ahead of time?
Yes! These bars actually taste even better the next day. Store covered at room temperature for up to a week, or freeze for up to 3 months.
- → Why are my bars too crumbly?
This usually happens from overbaking or not pressing the dough firmly enough into the pan. Make sure to pack the dough down well and check for doneness a few minutes before the recommended time.
- → Can I double this recipe?
Definitely! Double all ingredients and use two 9x13 pans, or use a large half-sheet pan. Baking time may need to be adjusted slightly depending on your pan size.
Conclusion
These chocolate chip cookie bars are the perfect solution when you want homemade cookies without all the fuss. They're incredibly versatile and always a crowd-pleaser. The combination of chewy texture and melted chocolate makes them absolutely irresistible. Store them in an airtight container for up to a week, though I doubt they'll last that long! Perfect for potlucks, bake sales, or just because you deserve something sweet.