
 pin it
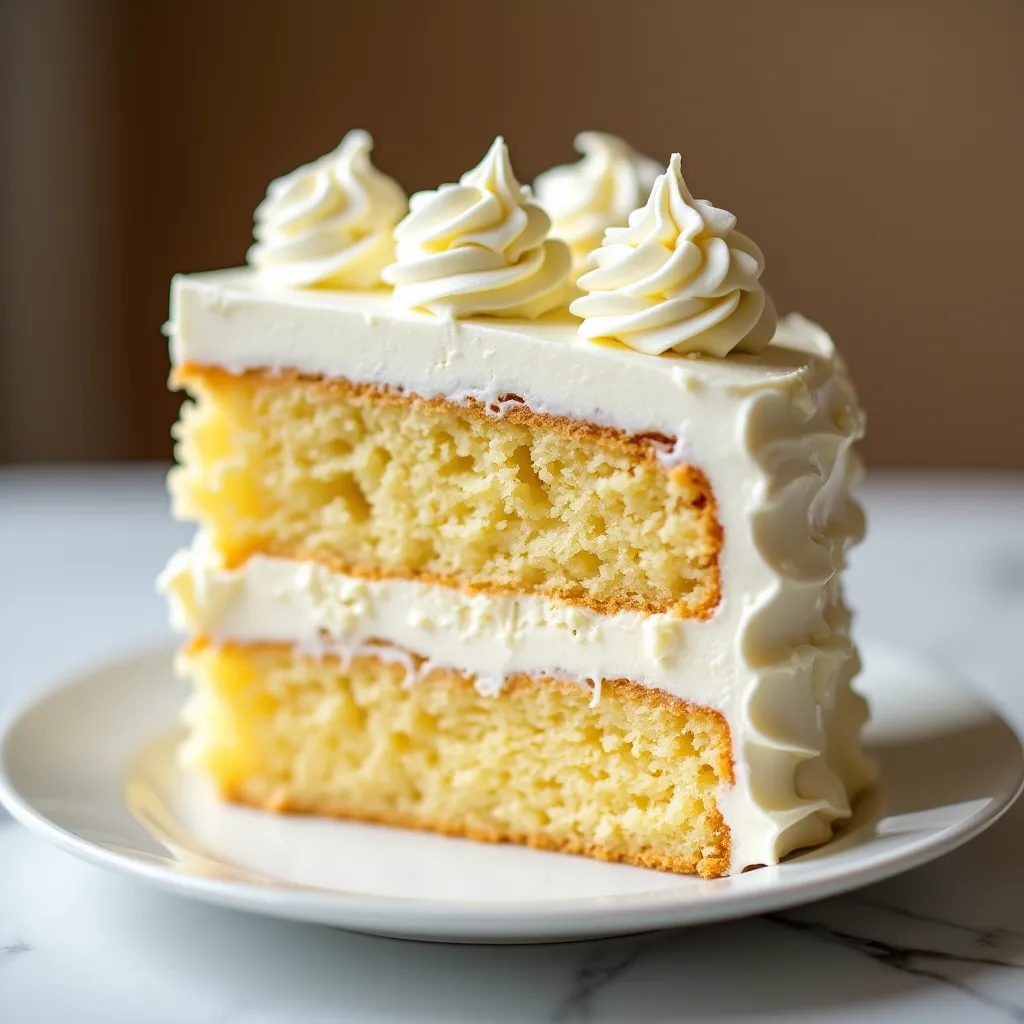
I first discovered this heavenly cloud cake recipe in my grandmother's old recipe box, written on a yellowed index card in her careful handwriting. The moment I saw the name, I knew I had to try it. The recipe called for the lightest possible vanilla cake layers, whipped to perfection and filled with the most luxurious cream. When I made it for the first time, I was amazed at how the cake seemed to melt on my tongue while the cream provided this incredible richness. The technique of folding the batter just until combined creates those signature air pockets that make each bite so tender. Over the years, I've refined the method, learning exactly when the cream reaches that perfect peak and how to pipe those elegant rosettes on top. This cake has become my signature dessert, the one everyone requests for birthdays and celebrations.
Why I love this recipe
What I absolutely adore about this heavenly cloud cake is how it manages to be both impressive and comforting at the same time. There's something magical about the way the layers come together - the tender crumb of the cake contrasting beautifully with the smooth, rich cream. I love how versatile it is too; you can dress it up for elegant dinner parties or keep it simple for family gatherings. The texture is what really sets it apart - it's like eating a sweet, vanilla-scented cloud that dissolves on your tongue. Every time I make this cake, I'm reminded of why I fell in love with baking in the first place. It's one of those recipes that never fails to bring joy to both the baker and everyone lucky enough to taste it. The satisfaction of creating something so beautiful and delicious from simple ingredients never gets old.
What You Need From Your Kitchen
- All-purpose flour: Sift before measuring for lighter texture
- Heavy whipping cream: Must be cold for proper whipping
- Large eggs: Bring to room temperature before using
- Unsalted butter: Melt and let cool slightly before adding
- Granulated sugar: Measure level for consistent sweetness
- Vanilla extract: Use pure vanilla for best flavor
Let's Make These Together
- Prepare your workspace
- Start by preheating your oven and preparing your cake pans with parchment paper. This ensures your cakes will release easily and have perfectly smooth bottoms. Having everything ready before you begin mixing will help you work quickly while the batter is at its lightest.
- Mix the perfect batter
- The key to this cloud-like texture is in the mixing technique. When combining wet and dry ingredients, fold gently just until you can't see any flour streaks. Overmixing develops the gluten and creates a dense, heavy cake instead of our desired fluffy texture.
- Whip cream to perfection
- Cold cream and cold bowl are essential for achieving those beautiful stiff peaks. Start whipping on medium speed, then increase gradually. Watch carefully as cream can go from perfect to overwhipped in seconds. Stop as soon as you see firm peaks that hold their shape.
- Assembly with care
- Let your cake layers cool completely before assembly - warm cake will melt your beautiful whipped cream. Spread the cream evenly between layers and save the prettiest portion for piping those gorgeous rosettes on top that make this cake so visually stunning.
 pin it
Switch Things Up
I remember the first time I made this cake for my sister's birthday. I was so nervous about getting the cream layers just right, but when I cut into it, the knife glided through like butter. The cake was so incredibly moist and the cream held its shape perfectly. My sister took one bite and her eyes just lit up - she said it tasted like eating a sweet cloud. Now whenever someone asks me to make 'that amazing cake,' I know exactly what they mean. I've experimented with adding lemon zest to the cream sometimes, or even a hint of almond extract in the cake batter. But honestly, the classic version is perfection itself.
Perfect Pairings
This heavenly cloud cake pairs beautifully with fresh berries like strawberries or raspberries, which add a lovely tartness to complement the sweet cream. A cup of freshly brewed coffee or Earl Grey tea makes an excellent accompaniment, as the slight bitterness balances the cake's sweetness. For special occasions, serve with a glass of champagne or dessert wine. You could also drizzle some berry coulis on the plate for an elegant restaurant-style presentation.
 pin it
Frequently Asked Questions
- → Can I make this cake ahead of time?
Yes, you can bake the cake layers up to 2 days ahead and store them wrapped in plastic wrap at room temperature. Assemble with whipped cream on the day of serving for best texture and appearance.
- → Why is my whipped cream not holding its shape?
This usually happens when the cream is too warm or overwhipped. Make sure your cream, bowl, and beaters are all well-chilled. If overwhipped, gently fold in a tablespoon of unwhipped cream to restore smoothness.
- → Can I use a different frosting instead of whipped cream?
While whipped cream is traditional for this cloud cake, you could use stabilized whipped cream, cream cheese frosting, or buttercream. However, the light whipped cream is what gives this cake its signature 'cloud' texture.
- → How do I prevent my cake layers from sticking?
Thoroughly grease your pans with butter, then line with parchment paper, and dust with flour. This triple protection ensures easy release. Let the cakes cool for 10 minutes in the pan before turning out.
- → Can I add flavoring to the cake or cream?
Absolutely! Try adding lemon zest to the batter, or almond extract to the whipped cream. You could also fold fresh berries into the cream for a fruity variation. Keep additions minimal to maintain the light texture.
Conclusion
This heavenly cloud cake truly lives up to its name with layers so light they seem to float. The combination of moist vanilla cake and billowy whipped cream creates a dessert that's both elegant and comforting. Perfect for special occasions or when you simply want to treat yourself to something extraordinary. Each bite delivers pure bliss that will have your guests asking for the recipe.