
 pin it
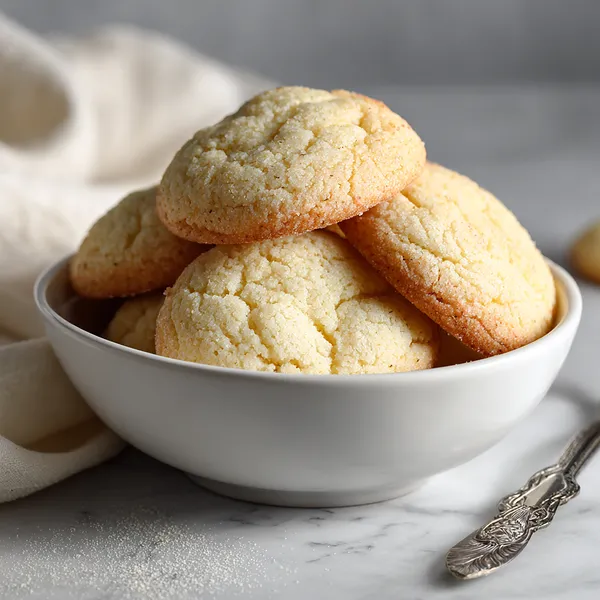
I first encountered the concept of mug cakes when my sister introduced me to the trend a few years ago, but back then, they were all loaded with sugar and flour. When I transitioned to a keto lifestyle, I knew I had to recreate that convenience with low-carb ingredients. This Keto Cheesecake in a Mug is everything I dreamed of – it's incredibly smooth, rich, and satisfying without any of the carbs that would kick me out of ketosis. The cream cheese base creates that authentic cheesecake flavor and texture, while the egg binds everything together perfectly. What I love most is how the powdered erythritol dissolves completely, leaving no grainy aftertaste like some other sweeteners. The vanilla extract adds warmth and depth, making each bite taste like it came from a fancy bakery. When you microwave it, the edges set up beautifully while the center remains slightly soft and custardy – exactly what you want in a cheesecake. Topping it with fresh berries not only adds a pop of color but also provides a refreshing contrast to the richness of the cream cheese. It's become my foolproof method for satisfying dessert cravings without spending hours baking or dealing with complicated recipes.
Why I love this recipe
I absolutely love this recipe because it gives me the freedom to enjoy cheesecake whenever I want without the commitment of making an entire cake. As someone who lives alone, traditional cheesecake recipes always felt wasteful – I'd end up eating way too much or letting it go bad in the fridge. This single-serve version solves that problem perfectly. Beyond the convenience, I'm amazed at how authentically it captures the flavor and texture of classic New York-style cheesecake. There's something almost therapeutic about mixing everything together in a mug and watching it transform in just 60 seconds. It's become my ultimate comfort food when I need a quick mood boost or a reward after a tough workout. I also love how customizable it is – some days I add a pinch of lemon zest for brightness, other times I swirl in some sugar-free chocolate sauce. The recipe is so forgiving that even if you slightly over or under-cook it, it still tastes incredible. Most importantly, it keeps me consistent with my keto lifestyle because I never feel deprived. When friends ask how I stick to low-carb eating so easily, I always credit recipes like this that make healthy eating feel indulgent and effortless.
What You Need From Your Kitchen
- Cream cheese: softened to room temperature and mixed until smooth for the base
- Egg: whisked in to bind the ingredients and create structure
- Powdered erythritol: stirred in as a keto-friendly sweetener
- Vanilla extract: added for flavor and aromatic depth
- Fresh berries: used as a colorful and refreshing topping
- Almond flour: optionally sprinkled for a crust-like texture
Let's Make These Together
- Soften the cream cheese
- Start by taking your cream cheese out of the refrigerator about 30 minutes before you plan to make this recipe. Softened cream cheese mixes much more easily and creates a smoother, lump-free texture in your final cheesecake. If you're in a hurry, you can microwave the cream cheese for 10-15 seconds to soften it quickly.
- Mix the base ingredients
- In your microwave-safe mug, combine the softened cream cheese with the egg, powdered erythritol, and vanilla extract. Use a fork or small whisk to blend everything together thoroughly until you have a completely smooth mixture with no visible lumps. This step is crucial for achieving that creamy, velvety cheesecake texture we're after.
- Add optional crust layer
- If you want to include a subtle crust element, sprinkle the almond flour at the bottom of your mug before adding the cream cheese mixture, or simply stir it directly into the batter. The almond flour adds a pleasant texture contrast and a hint of nuttiness that complements the rich cream cheese beautifully.
- Microwave to perfection
- Place your mug in the microwave and cook on high power for 60-90 seconds. Keep a close eye on it – the cheesecake should puff up slightly and set around the edges while remaining just a bit jiggly in the center. Every microwave is different, so you may need to adjust the time slightly. If it's still too liquidy after the initial cooking time, add 10-15 second intervals until it reaches the right consistency.
- Cool and garnish
- Remove the mug carefully from the microwave (it will be hot!) and let it cool for a few minutes. As it cools, the cheesecake will continue to firm up. Once it's reached a safe eating temperature, top it with fresh berries, a drizzle of sugar-free berry sauce, or any other keto-friendly toppings you love. Dig in and enjoy your personal-sized dessert masterpiece!
 pin it
Switch Things Up
I discovered this recipe during one of those late-night dessert emergencies when I was following a strict keto diet. I had just started my low-carb journey and was desperately missing cheesecake – my ultimate weakness. I experimented with different ratios and cooking times, and after a few attempts, I nailed this perfect mug version. The first time I pulled it out of the microwave and took that first spoonful, I couldn't believe how creamy and rich it tasted. It literally melted in my mouth like traditional cheesecake, but without the guilt or the wait. Now, whenever friends come over and see me whip this up in under two minutes, they're always amazed. I've made it countless times since then, sometimes adding different toppings like sugar-free chocolate chips or a dollop of whipped cream. It's become my signature dessert hack, and honestly, I think I make it at least three times a week now. The best part? No one can tell it's keto-friendly!
Perfect Pairings
This Keto Cheesecake in a Mug pairs beautifully with a hot cup of freshly brewed coffee or unsweetened tea – the bitterness balances the creamy sweetness perfectly. For an extra indulgent experience, serve it alongside some sugar-free whipped cream or a handful of fresh raspberries and blackberries. If you're looking to create a complete keto dessert spread, consider pairing it with some keto chocolate fat bombs or almond flour cookies. A glass of unsweetened almond milk also complements this dessert wonderfully, especially if you're enjoying it as a late-night treat.
 pin it
Frequently Asked Questions
- → Can I make this without a microwave?
Yes! You can bake this in a preheated oven at 325°F (165°C) for about 15-20 minutes in an oven-safe ramekin. The texture will be slightly different but equally delicious.
- → How do I know when it's done cooking?
The cheesecake should be set around the edges but still have a slight jiggle in the center when you gently shake the mug. It will firm up as it cools, so don't overcook it or it may become rubbery.
- → Can I use a different sweetener?
Absolutely! You can substitute erythritol with monk fruit sweetener, stevia, or any other keto-friendly sweetener you prefer. Adjust the amount to your taste, as different sweeteners have varying levels of sweetness.
- → Can I make this dairy-free?
While cream cheese is essential to this recipe's texture and flavor, you could try using dairy-free cream cheese alternatives. Keep in mind that the taste and texture may vary depending on the brand you use.
- → How long can I store leftovers?
You can cover the mug with plastic wrap and refrigerate for up to 2 days. The texture may become denser after refrigeration, similar to traditional cheesecake. Reheat gently in the microwave for 10-15 seconds if you prefer it warm.
- → Why did my cheesecake turn out rubbery?
This usually happens from overcooking. Reduce the microwave time by 10-15 seconds next time, and remember that the cheesecake continues to cook slightly after you remove it from the microwave due to residual heat.
- → Can I double this recipe?
Yes, but you'll need to use a larger mug and adjust the cooking time. For a double batch, try cooking for 90-120 seconds, checking every 30 seconds after the first minute to avoid overcooking.
Conclusion
This Keto Cheesecake in a Mug is proof that you don't need to sacrifice flavor or time to enjoy a delicious low-carb dessert. With just a handful of ingredients and a microwave, you can create a restaurant-quality treat that satisfies your sweet cravings while keeping you on track with your health goals. The creamy texture, combined with the burst of fresh berries on top, makes this single-serve dessert absolutely irresistible. Whether you're treating yourself after a long day or impressing guests with a quick dessert option, this recipe delivers every single time.