
 pin it
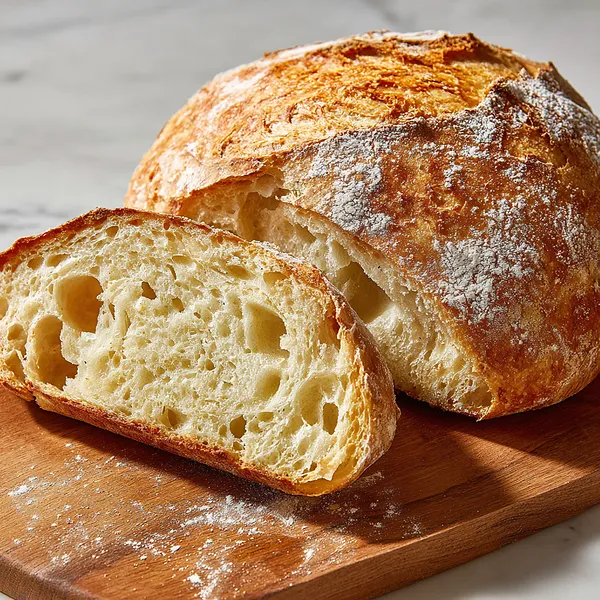
The first time I ever encountered a truly great artisan loaf, I was at a small farmer's market and a baker had a Dutch oven sitting right there on the table, still radiating heat. He tore open a loaf and the crust shattered like thin glass while the inside was this impossibly soft, open, cloud-like crumb. I stood there eating sample after sample trying to figure out the secret. He laughed and told me: time. That's the whole secret. No kneading, no stand mixer, no complicated technique — just giving the dough the time it needs to develop gluten on its own overnight. That conversation changed the way I thought about bread forever. Now I make this loaf at least once a week and it never stops feeling like a small miracle. The way the crust blooms and cracks in the oven, the way the whole house fills with that deep, yeasty warmth — it's one of the most rewarding things you can make in a home kitchen.
Why I love this recipe
I love this bread because it completely dismantles the idea that great bread is complicated. There's something deeply satisfying about the fact that the most minimal effort — barely 5 minutes of actual hands-on work — produces something that genuinely looks and tastes extraordinary. I love the overnight process too; it feels intentional, like you're building anticipation. And the Dutch oven method is a revelation — that trapped steam in the first half of baking is what gives you that bakery-style shatter crust that you simply cannot achieve any other way at home. Every single time I slice this loaf and hear that crust crackle, I feel like I've cheated the system in the best possible way.
What You Need From Your Kitchen
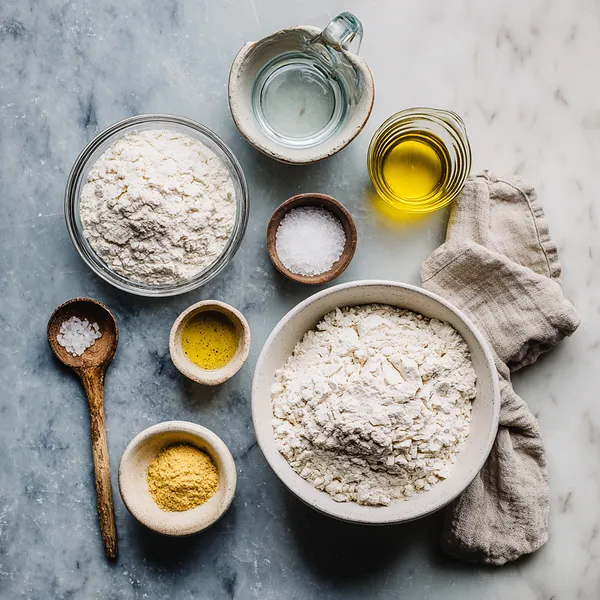
- Bread Flour: Use high-protein bread flour for a chewy crumb and crispy crust — do not substitute with cake flour.
- Active Dry Yeast: Only a tiny amount is needed; the long fermentation time allows even this small quantity to leaven the dough fully.
- Warm Water: Should be between 100–110°F — too hot will kill the yeast, too cold will slow fermentation dramatically.
- Salt: Enhances flavor and controls fermentation speed — do not skip or reduce significantly.
- Olive Oil (optional): Adds a slight richness and helps develop a tender crumb if desired.
Let's Make These Together
- Mix dry ingredients together
- In a large bowl, whisk together the bread flour, yeast, and salt until evenly combined. This ensures the yeast and salt are distributed throughout the dough from the very start, avoiding uneven fermentation or over-salted patches.
- Add water and stir
- Pour in the warm water all at once and stir vigorously with a wooden spoon until a sticky, shaggy dough forms. You are not trying to smooth it out — just make sure there are no visible dry flour pockets remaining at the bottom of the bowl. It will look messy and that's perfectly fine.
- Cover and ferment overnight
- Tightly wrap the bowl in plastic wrap and leave it at room temperature for 12 to 18 hours. During this time, the gluten develops on its own through autolyse and the yeast slowly produces gas, creating all those signature air bubbles in the crumb without any kneading on your part.
- Shape into a round boule
- Flour your surface generously and tip the dough out. Fold the edges in two or three times, then flip and gently round the dough into a ball. You are building surface tension here, not degassing the dough — work quickly and with confidence.
- Preheat Dutch oven to 450°F
- Place your Dutch oven and lid inside the cold oven, then set it to 450°F and allow it to preheat for a full 30 minutes. The extreme heat stored in the cast iron is what creates the crackling crust and dramatic oven spring.
- Score and bake covered 30 minutes
- Lower the dough into the screaming hot Dutch oven using parchment paper. Score the top with a single deep slash. Bake with the lid on for 30 minutes — the steam created inside transforms the crust completely and allows the loaf to expand to its full height.
- Remove lid and finish baking
- Take the lid off and bake for an additional 15 minutes until the crust is a deep, burnished golden-brown color. Cool on a wire rack for at least 30 minutes before cutting to allow the interior crumb to fully set.
 pin it
Switch Things Up
I started making this bread on a lazy Sunday when I had absolutely nothing planned and a near-empty pantry. I mixed the dough the night before without really expecting much — just flour, yeast, salt, water, stirred together in two minutes. The next morning I walked into the kitchen and the smell alone told me something magical had happened. The dough had bubbled and spread into this gorgeous, rustic blob. I shaped it loosely, dropped it into my Dutch oven, and within 45 minutes I had a loaf that looked like it came straight from an artisan bakery window. I've been baking it every weekend since.
Perfect Pairings
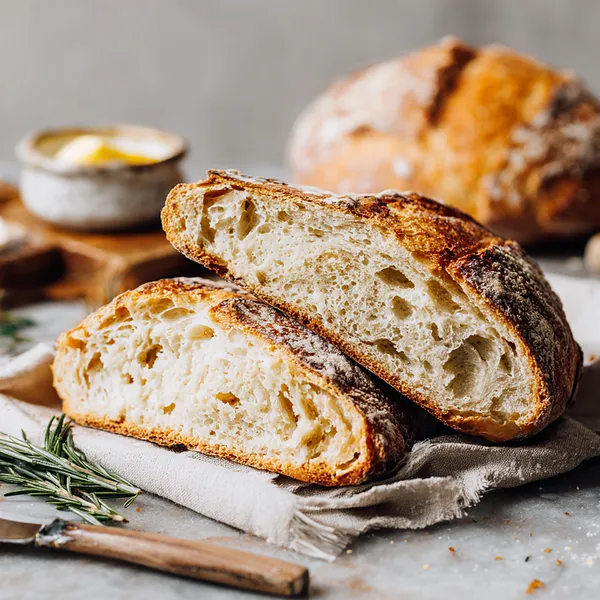
This artisan bread was practically born to be torn apart alongside a steaming bowl of French onion soup or a rich tomato bisque. It pairs beautifully with a simple charcuterie board — think aged cheddar, prosciutto, cornichons, and honey. For breakfast, toast a thick slice and layer on avocado with flaky sea salt, or go classic with good salted butter and apricot jam. If you're doing a dinner party, serve it warm alongside a roasted chicken or a big pasta dish and watch it disappear before the main course even lands on the table.
 pin it
Frequently Asked Questions
- → Can I use all-purpose flour instead of bread flour?
You can, but bread flour is strongly recommended because its higher protein content (12–14%) creates more gluten, resulting in a chewier texture and more pronounced open crumb. All-purpose flour will still work and produce a tasty loaf, just slightly less airy and a bit softer in texture.
- → What if I don't have a Dutch oven?
A Dutch oven is the best tool for trapping steam, but you can improvise by baking the bread in any oven-safe covered pot, or by placing a pan of boiling water on the bottom rack of the oven while baking to create steam. Results will vary but can still be very good.
- → How long can I leave the dough to ferment?
The sweet spot is between 12 and 18 hours at room temperature. Beyond 18 hours the dough can over-ferment and become too sticky and acidic. If you need more time, place the covered bowl in the refrigerator after the first 12 hours and bake within 24 hours total.
- → Why does my bread come out dense instead of airy?
The most common reasons are old or inactive yeast, water that was too hot and killed the yeast, insufficient fermentation time, or cutting into the loaf before it was fully cooled. Make sure your yeast is fresh and your water temperature is between 100–110°F.
- → Can I add herbs or cheese to this bread?
Absolutely — this dough is a perfect canvas. You can fold in fresh rosemary, roasted garlic, shredded parmesan, olives, or jalapeño cheddar during the shaping step. Add mix-ins gently so you don't tear the gluten structure you've built overnight.
- → How should I store leftover artisan bread?
Store at room temperature cut-side down on a wooden cutting board, or wrapped loosely in a clean kitchen towel. Never refrigerate artisan bread — the cold air draws moisture out of the crumb rapidly. It stays best for up to 2 days; after that, slice and freeze for up to 3 months.
Conclusion
This no-knead artisan bread is living proof that you don't need to be a professional baker to pull a jaw-dropping loaf from your oven. With just four pantry staples and a little patience, you get a crackling golden crust and a light, holey crumb that rivals anything from a bakery. It's the kind of bread that makes your whole home smell incredible and your guests ask for the recipe every single time.