
 pin it
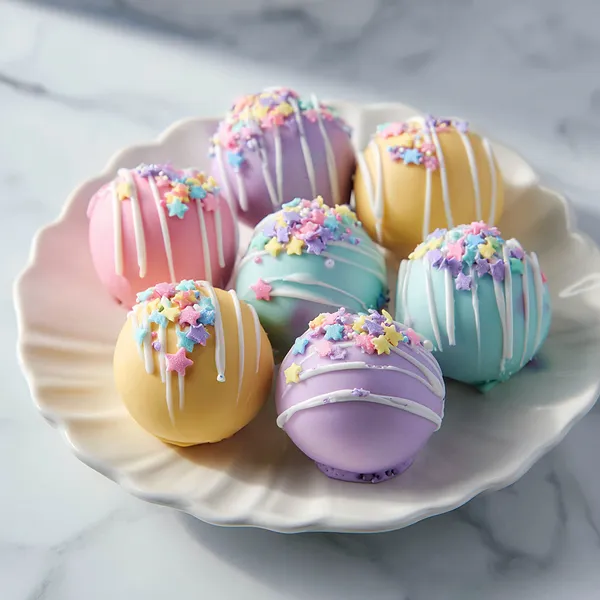
I first encountered cake pops at a bakery window and could not believe how something so small could look so impossibly perfect. The idea that the inside was soft, moist crumbled cake mixed with cream cheese and the outside was this glossy, smooth candy shell — it felt almost too pretty to eat. When I started making them at home, I quickly realized the pastel version is my absolute favorite. There is something about those soft pink, yellow, blue, and lavender hues all together on one plate that just makes everything feel joyful. The white chocolate drizzle adds a layer of elegance, and the star sprinkles make them look like they belong at a fairy tale celebration. Every time I set a plate of these out, people stop and stare before reaching for one.
Why I love this recipe
I love this recipe because it is one of those projects where the process is just as enjoyable as the result. Crumbling the cake, rolling the balls, dipping them in silky melted candy, and watching the colors come together is genuinely meditative and so satisfying. I also love how customizable they are — you can match any color palette, any theme, any occasion. The pastel combination with white drizzle and star sprinkles is my personal favorite because it feels elegant and playful at the same time. They are also a crowd-pleaser without exception. I have never once served these and had anyone not absolutely love them. They look like they came from a professional bakery but I promise they are very achievable at home with a little patience.
What You Need From Your Kitchen
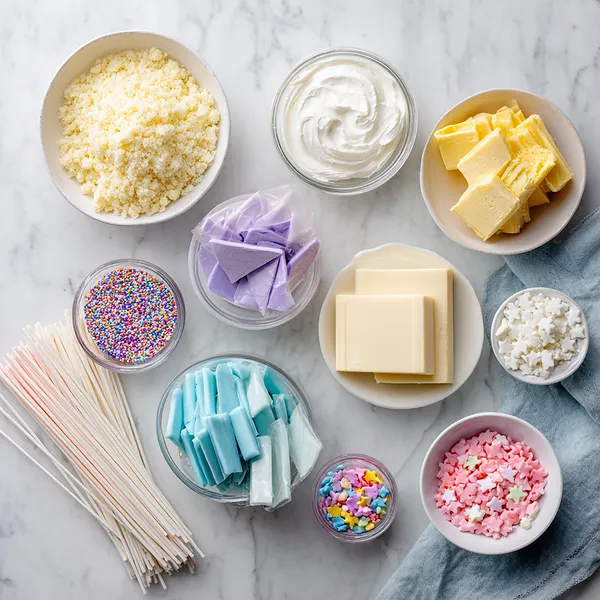
- Vanilla Cake Mix: Baked according to package directions, then fully cooled and crumbled into fine crumbs to form the base of the cake pops
- Cream Cheese: Softened and mixed into the cake crumbs to bind everything together into a smooth, rollable dough
- Pastel Candy Melts (Pink, Yellow, Blue, Purple): Melted separately and used to coat each cake pop in a smooth, glossy pastel shell
- White Chocolate Chips: Melted and drizzled in fine lines across each coated pop for an elegant decorative finish
- Colorful Star Sprinkles: Applied immediately after the white chocolate drizzle for a festive, whimsical topping
- Lollipop Sticks: Inserted into each cake ball after chilling to create the classic cake pop shape and make them easy to hold
- Coconut Oil or Shortening: Stirred into the melted candy coating to thin it for a smoother, more even dip
Let's Make These Together
- Bake and fully cool your cake
- Prepare the vanilla cake mix according to the box directions and bake in a 9x13 pan. This is the foundation of your cake pops, so let it cool completely on a wire rack before moving on — rushing this step will make the mixture too wet to work with.
- Crumble and bind with cream cheese
- Break the cooled cake into fine crumbs using your hands or a fork. Add softened cream cheese and mix until it all comes together into a soft, pliable dough that holds its shape when pressed. If it is too dry, add a touch more cream cheese.
- Roll, chill, and stick
- Scoop and roll the mixture into even balls, then chill on a parchment-lined sheet for 30 minutes. Dip each lollipop stick tip into a little melted candy and push it into the center of each ball to anchor it. Chill again for 15 more minutes before dipping.
- Dip into pastel candy coating
- Melt each candy melt color in separate deep bowls, adding a little coconut oil for a smooth consistency. Dip each pop straight down, let the excess drip off with a gentle wrist tap, then stand them upright in a styrofoam block to set completely.
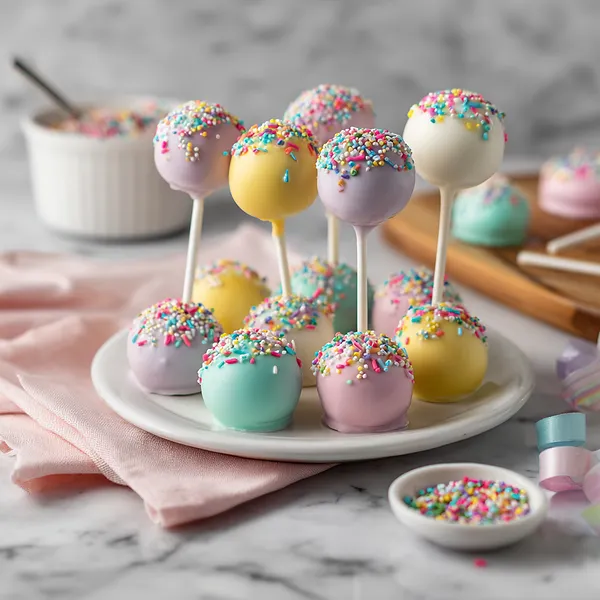
- Drizzle and add sprinkles
- Once the coating is set, melt the white chocolate and transfer it to a piping or zip-lock bag. Drizzle quick lines across each pop, then immediately shower with colorful star sprinkles before it sets. Stand them up to dry and admire your beautiful, bakery-worthy creations.
 pin it
Switch Things Up
I made these for the first time when I needed something really special for a spring party and I wanted to go all out on the presentation. I baked a simple vanilla cake, crumbled it up with cream cheese, rolled them into balls, and then came the fun part — melting all those gorgeous pastel candy melts and dipping each pop. Getting the drizzle right took a little patience but once you get the hang of it, it is incredibly satisfying. The sprinkles go on last and that is when they truly come to life.
Perfect Pairings
These pastel cake pops pair beautifully with a table spread of macarons, sugar cookies, and pastel meringue kisses for a full dessert display. They complement light floral teas like lavender earl grey or rose hibiscus perfectly. For a party setup, serve them alongside a punch bowl with pink lemonade or a sparkling pastel spritz. They also work wonderfully as party favors tucked into individual treat bags tied with pastel ribbon.
 pin it
Frequently Asked Questions
- → Can I use homemade cake instead of a box mix?
Absolutely! Any vanilla or white cake recipe works perfectly. Just make sure the cake is fully cooled before crumbling, and adjust the amount of cream cheese as needed based on how moist your cake is. Drier cakes may need a little more cream cheese to bind.
- → Why do my cake pops keep falling off the stick?
This usually happens when the cake balls are not cold enough before dipping. Make sure to chill them thoroughly after inserting the sticks, and always anchor the stick first by dipping it in a little melted candy before inserting. Do not skip either chilling step.
- → Can I make these ahead of time?
Yes! You can make the cake balls and refrigerate them uncoated for up to 3 days, or freeze them for up to 6 weeks. Dip and decorate them the day before serving for the best results. Fully finished cake pops keep in the fridge for up to 5 days.
- → What if my candy coating is too thick?
Add a small amount of coconut oil, vegetable shortening, or paramount crystals to the melted candy melts and stir well. Add just a little at a time — even half a teaspoon makes a noticeable difference. Never add water as it will cause the candy to seize and become unusable.
- → Can I use food coloring instead of colored candy melts?
You can tint white candy melts using oil-based or powder food coloring only — never water-based food coloring, as it will ruin the coating. Colored candy melts are much easier and give the most consistent pastel results, so they are strongly recommended for this recipe.
- → How do I store leftover cake pops?
Store in an airtight container at room temperature for up to 2 days, or refrigerate for up to 5 days. If refrigerating, let them come to room temperature before serving so the coating does not crack from the temperature change. They can also be frozen for up to 6 weeks.
Conclusion
These Whimsical Pastel Starry Cake Pops are everything a celebration dessert should be — beautiful, fun, and absolutely delicious. With their silky candy shell, soft vanilla interior, and dreamy pastel colors, they are guaranteed to steal the show at any party, shower, or festive gathering. Make a big batch, package them in clear bags tied with ribbon, and watch everyone's face light up.