
 pin it
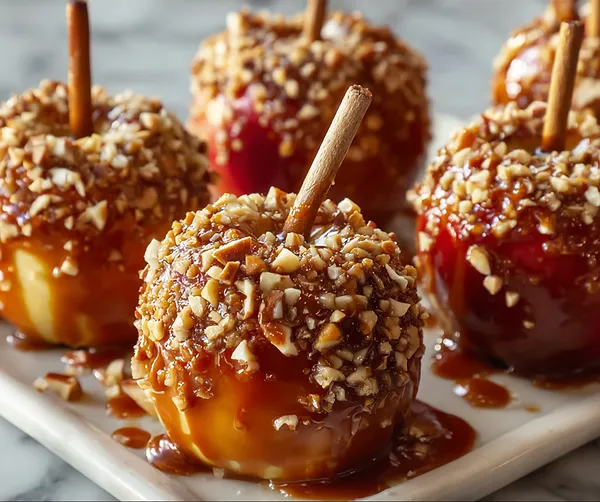
I first encountered real caramel apples at a county fair when I was eight years old, and I've been chasing that perfect bite ever since. This recipe captures that exact magic – the satisfying crack of the caramel shell, the crunch of toasted nuts, and the tart apple underneath that cuts through all that sweetness. What I love most is how this sheet pan method makes the whole process so much more approachable. Instead of wrestling with one apple at a time over a pot of hot caramel, you can set up an assembly line and knock out eight gorgeous apples in one go. The secret is getting your apples completely dry and at room temperature – this helps the caramel cling beautifully without sliding off. I use a mix of Granny Smith for tartness and Honeycrisp for sweetness, creating the perfect flavor balance. The addition of heavy cream to the melted caramels makes the coating smoother and easier to work with. Watching that golden caramel cascade over each apple never gets old, and rolling them in chopped pecans adds that carnival-worthy finish. These aren't just desserts; they're edible autumn decorations that happen to taste incredible.
Why I love this recipe
This recipe holds a special place in my heart because it makes something that seems complicated feel totally achievable. I love that it brings back childhood memories while being practical enough to make on a weeknight. The sheet pan method is genius – no more burnt fingers from dipping apples one by one, no more caramel hardening before you finish. Everything happens in an organized, stress-free way. I especially appreciate how customizable these are. Sometimes I go classic with just pecans, other times I add a white chocolate drizzle or even crushed Oreos for fun. The recipe works for any skill level, making it perfect for getting kids involved in the kitchen. There's something deeply satisfying about transforming simple fresh apples into these glossy, decorated treats. They look professional but require minimal technique. Plus, they're naturally gluten-free (when you skip cookie toppings), making them a great option when you need to accommodate different dietary needs. The best part? Unlike traditional caramel apples that need to be eaten immediately, these hold up well for a day or two, making them perfect for make-ahead party planning.
What You Need From Your Kitchen
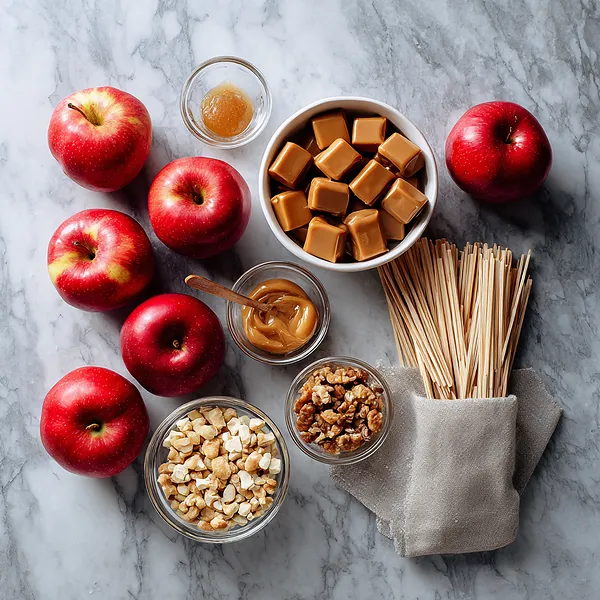
- Apples: Wash, dry completely, and insert sticks before beginning
- Caramel candies: Unwrap all candies and combine with heavy cream for melting
- Heavy cream: Mix with caramels to create smooth, workable coating
- Chopped nuts: Spread on shallow plate ready for rolling coated apples
- White chocolate chips: Melt separately for optional decorative drizzle over finished apples
Let's Make These Together
- Prepare Your Workspace
- Start by washing your apples thoroughly and drying them completely with a clean towel to remove any waxy coating. This step is crucial because moisture or wax will prevent the caramel from sticking properly. Remove the stems and press a wooden stick firmly into the top center of each apple. Line your sheet pan with parchment paper and set up your workstation with the melted caramel, nut topping in a shallow dish, and your prepared apples within easy reach.
- Create Smooth Caramel
- Unwrap all your caramel candies and place them in a microwave-safe bowl along with the heavy cream. The cream helps create a smoother, more pourable consistency. Microwave in 30-second intervals, stirring thoroughly between each heating, until the mixture is completely melted and silky smooth. This usually takes about 2-3 minutes total. Let it cool for about 2 minutes – this slight cooling allows it to thicken just enough to coat the apples beautifully without being too runny.
- Coat and Decorate
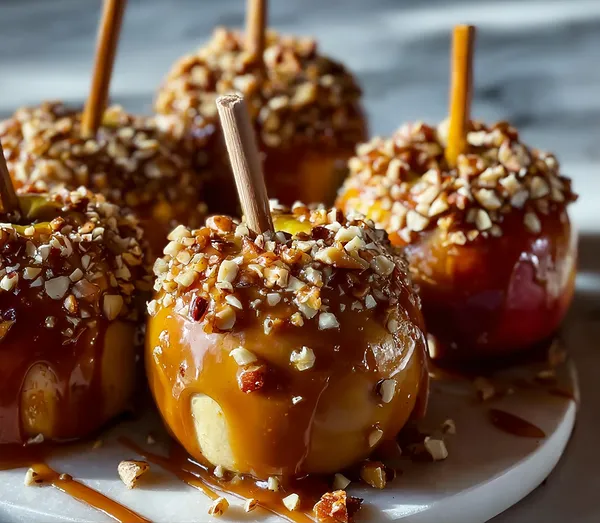
- Hold each apple by its stick and dip it into the caramel, tilting and slowly rotating to ensure complete coverage. Let the excess caramel drip back into the bowl for a few seconds. Immediately roll the caramel-coated apple in your chopped nuts, focusing on the bottom half and sides. Place each finished apple on your prepared sheet pan. Work at a steady pace since caramel begins to set quickly.
- Finish and Chill
- If you're adding a white chocolate drizzle, melt the chips in a microwave-safe bowl using 20-second intervals and stirring between each until smooth. Transfer the melted chocolate to a small ziplock bag, snip off a tiny corner, and drizzle decoratively over your caramel apples in zigzag or circular patterns. Place the entire sheet pan in the refrigerator for at least 30 minutes to fully set the caramel. Before serving, let them sit at room temperature for about 10 minutes for the perfect texture.
 pin it
Switch Things Up
I remember the first time I made caramel apples at home – what a sticky disaster! Caramel everywhere except on the apples. Then I discovered this sheet pan method and everything changed. Last October, I made a batch for my nephew's birthday party, and watching the kids' faces light up when they saw those glossy apples lined up was priceless. One little guy asked if we were running a candy store from our kitchen! The beauty of this recipe is you can prep everything in advance and have the apples ready when you need them. I love experimenting with different nut coatings – pecans are my favorite, but crushed pretzels add an amazing salty-sweet contrast. Pro tip: slightly warm apples stick to the caramel better than cold ones, but make sure they're completely dry first.
Perfect Pairings
These caramel apples pair beautifully with hot apple cider or spiced chai tea for the ultimate fall experience. Serve them alongside a cheese board with sharp cheddar to balance the sweetness, or offer them as dessert after a hearty autumn meal of roasted chicken and root vegetables. For parties, set up a toppings bar with extra crushed nuts, mini chocolate chips, sprinkles, and coconut flakes so guests can customize their apples. They also make a wonderful accompaniment to vanilla ice cream if you slice them up and serve them sundae-style.
 pin it
Frequently Asked Questions
- → Why won't my caramel stick to the apples?
The most common reason is moisture or wax on the apple surface. Make sure to wash apples thoroughly and dry them completely with a clean towel. You can also dip them briefly in boiling water and dry them to remove the waxy coating. Room temperature apples work better than cold ones.
- → Can I use homemade caramel instead of caramel candies?
Absolutely! Homemade caramel works beautifully. Just make sure it's cooked to the right temperature (around 240°F) so it sets properly on the apples. Let it cool slightly before dipping so it's thick enough to coat well without sliding off.
- → How long do caramel apples last?
When stored in the refrigerator, caramel apples will keep for up to 2 days. Keep them loosely covered or in an airtight container. Let them sit at room temperature for 10 minutes before eating for the best texture and flavor.
- → What type of apples work best?
Tart, crisp apples like Granny Smith are traditional and provide a nice contrast to the sweet caramel. Honeycrisp, Fuji, and Gala apples also work wonderfully. Avoid softer varieties like Red Delicious as they can become mushy and don't hold up as well.
- → Can I make these ahead for a party?
Yes! These are perfect for making ahead. Prepare them up to 1-2 days in advance and store in the refrigerator. Just remember to let them come to room temperature for about 10 minutes before serving so the caramel isn't too hard to bite into.
- → My caramel is too thick to dip easily. What should I do?
If the caramel thickens too much while you're working, simply microwave it again in 10-second bursts, stirring between each, until it returns to a good dipping consistency. You can also add a tiny splash more cream to thin it out if needed.
Conclusion
These Sheet Pan Caramel Apples bring all the nostalgia of fall festivals right to your kitchen with minimal effort and maximum reward. The combination of tart apples, smooth caramel, and crunchy nuts creates the perfect balance of flavors and textures. Making them on a sheet pan means less mess and more caramel apples for everyone. They're perfect for autumn gatherings, Halloween parties, or simply as a special treat to enjoy with family. Once you try this easier method, you'll never go back to making them one at a time.