
 pin it
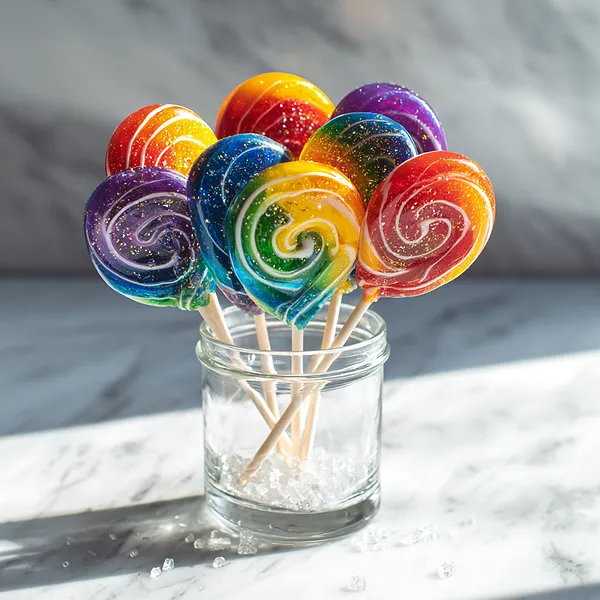
I still remember the first time I saw stained glass lollipops at a farmer's market candy booth — I must have stood there for a full two minutes just staring at them. The way the light passed through the translucent colored sugar, illuminating each one like a tiny glowing gem on a stick, was absolutely mesmerizing. I paid way too much for three of them and immediately started researching how to make them at home. What I discovered is that the process is essentially precision candy-making: you cook a simple sugar syrup to the hard crack stage, divide it, color each portion with vibrant gel food colorings, and pour them into round lollipop molds. The art comes from layering and swirling the colors before the candy sets. Purple bleeds into red, orange glows next to blue, and tiny air bubbles get trapped inside creating that signature jeweled texture. Every single batch comes out slightly different, which makes the whole process feel genuinely creative rather than just following a recipe. I've made these for birthday parties, holiday gifts wrapped in cellophane bags, and even as cake toppers. They photograph like absolute dreams and taste as good as they look.
Why I love this recipe
What I love most about these lollipops is that they sit right at the intersection of cooking and art. You're not just following steps — you're making decisions about color, layering, and composition that make every batch uniquely yours. There's also something deeply satisfying about the candy-making process itself: watching the sugar syrup bubble and climb in temperature, the way it transforms from a clear liquid into something glass-like and jewel-toned the moment color touches it. I love that the ingredients list is so short and humble — just sugar, syrup, water, and color — yet the result looks wildly elaborate and expensive. They're also incredibly versatile: change the extract flavoring for different taste profiles, adjust the colors for any occasion, or experiment with marble swirling techniques for more abstract designs. Every time I make a batch I feel a little burst of creative joy, and that feeling never gets old.
What You Need From Your Kitchen
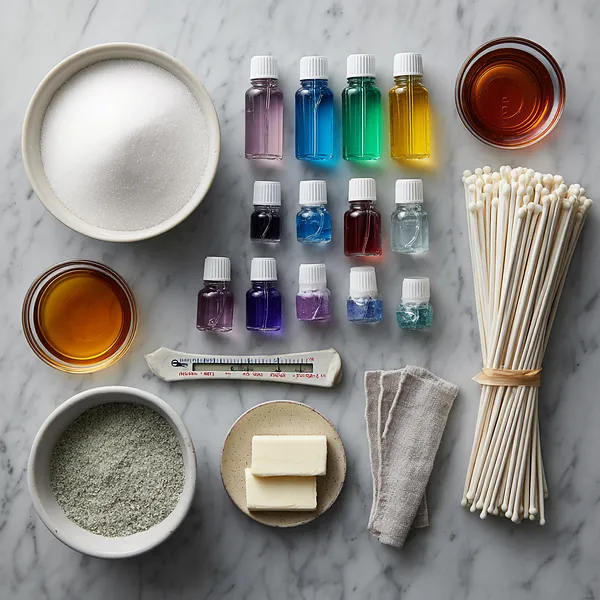
- Granulated Sugar: The primary base of the hard candy; measured precisely to ensure proper hard crack texture.
- Light Corn Syrup: Prevents crystallization and gives the candy its smooth, glassy finish.
- Cream of Tartar: Stabilizes the sugar syrup and contributes to the translucent, glass-like appearance.
- Gel Food Coloring: Used in jewel tones to create the vibrant stained glass color effect; gel type gives richness without diluting the syrup.
- Flavoring Extract: Added off-heat for aroma and taste — cherry, raspberry, watermelon, or citrus all work beautifully.
- Lollipop Sticks: Inserted before the candy sets; food-safe paper or plastic sticks work best.
Let's Make These Together
- Prep your workspace and molds
- Grease all lollipop mold cavities lightly with cooking spray and insert a lollipop stick into each one. Arrange your gel food colorings with lids off and metal spoons nearby — once the sugar is ready, you'll need to move quickly, so having everything organized before you start is essential.
- Cook sugar to hard crack
- Combine sugar, corn syrup, water, and cream of tartar in your saucepan. Stir until dissolved over medium-high heat, then clip on the thermometer and stop stirring. Let it cook undisturbed until it hits 300–310°F. This is the hard crack stage — the magic temperature that gives you that glassy, crunchy candy texture.
- Add flavoring and divide
- Pull the pan off heat, let it rest 1–2 minutes, then stir in your flavoring extract. Carefully pour the hot syrup into your pre-separated heat-safe cups — one for each color. Add gel food coloring immediately and stir with individual spoons to keep colors clean and vibrant.
- Pour and swirl colors into molds
- Layer your colored syrups into each mold cavity, letting them overlap and blend slightly at the edges for that authentic stained glass look. Use a toothpick for a single gentle swirl if desired. Place the sticks into position and resist the urge to keep mixing — less is more for a jeweled effect.
- Cool completely and unmold
- Leave the lollipops untouched at room temperature for 20–30 minutes until fully hardened. Flex the silicone molds gently to release each lollipop. They should come out smooth, clear, and glowing. Wrap in cellophane immediately to prevent sticking from humidity.
 pin it
Switch Things Up
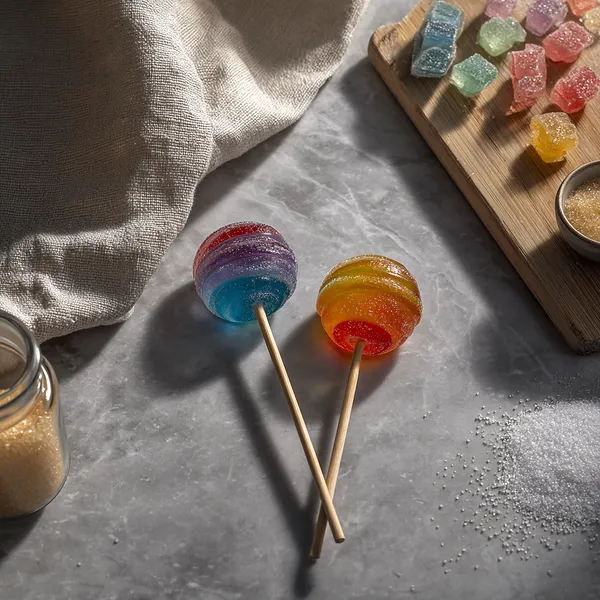
I first tried making these on a rainy afternoon when I was craving something creative in the kitchen. I had always admired those gorgeous jewel-colored lollipops at artisan candy shops but never thought I could replicate them at home. I grabbed my candy thermometer, pulled out every color of gel food coloring I owned, and just went for it. The moment I poured the molten sugar into the molds and watched the colors bleed and swirl into each other — I was completely hooked. Now I make them in seasonal color palettes: deep burgundy and gold for autumn, icy blue and silver for winter, pastels for spring. The recipe never changes, but the color combinations keep it endlessly exciting.
Perfect Pairings
These Stained Glass Lollipops pair beautifully with a warm mug of chamomile tea or a sparkling lemonade — the tartness of citrus drinks complements the sweet candy perfectly. For a dessert spread, arrange them alongside macarons, meringue cookies, and sugar cookies for a stunning candy buffet. They also make magical additions to hot cocoa bars where guests can stir them in to melt a hint of flavored sweetness into their drink.
 pin it
Frequently Asked Questions
- → Do I need special molds for stained glass lollipops?
Round silicone lollipop molds work best because they're flexible for easy unmolding and heat-resistant enough to handle the hot sugar syrup safely. You can find them at craft stores or online for very little cost.
- → Can I make these without a candy thermometer?
A candy thermometer is strongly recommended. Without one, you risk under- or over-cooking the sugar, which affects the texture dramatically. The hard crack stage (300–310°F) is specific and difficult to judge by eye alone.
- → Why are my lollipops cloudy instead of clear and glassy?
Cloudiness usually happens if the sugar was stirred after it came to a boil, causing crystallization. Make sure to stop stirring once the sugar dissolves and the syrup begins to boil. Using cream of tartar also helps prevent this.
- → How long do stained glass lollipops last?
When wrapped individually in cellophane and stored in an airtight container away from heat and humidity, they can last up to 3–4 weeks. Humidity is the main enemy — it makes the surface sticky over time.
- → Can I use liquid food coloring instead of gel?
You can, but gel food coloring is strongly preferred. Liquid coloring adds extra water to the syrup which can affect the texture and produce paler, less vibrant colors. Gel delivers rich jewel tones without diluting the candy base.
- → Can children help make these lollipops?
The sugar cooking process involves extremely high temperatures and is not safe for children. However, kids can absolutely help with choosing colors beforehand and wrapping the finished lollipops in cellophane once they've fully cooled.
Conclusion
These DIY Stained Glass Lollipops are proof that candy-making is a true art form. Once you master the sugar temperature and color swirling technique, you'll be making batches for every holiday, party, and gift-giving moment. The results are so stunning that people will insist you bought them from a specialty shop — and you get to smile and say you made them yourself.