
 pin it
I'll never forget the first time I encountered a taco-flavored cheese ball at my neighbor's Super Bowl party about five years ago. I had tried plenty of cheese balls before – the classic ranch version, the elegant herb-coated ones – but nothing prepared me for the explosion of Tex-Mex flavors in this beauty. The moment I scooped some onto a tortilla chip, I was hooked. The creamy tang of the cream cheese balanced perfectly with the sharp cheddar, while the taco seasoning added that familiar warmth and spice I craved. What really set it apart were the bacon bits that added a smoky, savory element and the fresh green onions that brought brightness to every bite. The crushed tortilla chip coating wasn't just for show – it added an essential textural contrast that made each scoop satisfying. I spent the rest of that party hovering near the cheese ball, probably eating way more than my fair share. The next day, I called my neighbor and begged for the recipe. She laughed and told me it was embarrassingly simple, which made me love it even more. Since then, I've made it countless times, tweaking and perfecting it until it became my signature party dish. Every time I serve it, I watch people have that same moment of discovery I had – the realization that a cheese ball can be this exciting and delicious.
Why I love this recipe
What I love most about this Taco Cheese Ball is how it manages to be both incredibly easy and incredibly impressive at the same time. There's something magical about taking simple ingredients that most people already have in their kitchen and transforming them into something that looks like it came from a gourmet deli. I love that it's a make-ahead recipe, which means I can prepare it in the morning, let it chill all day, and arrive at any party looking like I have my life together. The flavor combination hits all the right notes – creamy, tangy, savory, and just slightly spicy. It satisfies that craving for Tex-Mex food without requiring any cooking or complicated techniques. I also appreciate how customizable it is; I've made versions with extra jalapeños for spice lovers, swapped the bacon for chorizo for a different twist, and even made a vegetarian version that was equally delicious. But beyond all the practical reasons, I love this recipe because it brings people together. There's something about a cheese ball that makes people gather around, chatting and laughing while they dip and snack. It creates that warm, convivial atmosphere that makes parties memorable. Plus, I genuinely enjoy making it – there's something satisfying about mixing the ingredients, shaping the ball, and rolling it in the crunchy coating. It's become one of those recipes that feels like an old friend, reliable and always appreciated.
What You Need From Your Kitchen
- Cream Cheese: Use full-fat cream cheese that has been softened to room temperature for at least 30 minutes before mixing
- Cheddar Cheese: Freshly shred your own cheddar for the best flavor and texture, avoiding pre-shredded cheese with anti-caking agents
- Taco Seasoning: Use a store-bought packet or make your own blend with chili powder, cumin, paprika, garlic powder, and onion powder
- Bacon Bits: Cook and crumble crispy bacon yourself or use store-bought real bacon bits, not imitation bacon flavored bits
- Green Onions: Chop finely, using both white and green parts for maximum flavor and color contrast
- Tortilla Chips: Crush into small pieces using a food processor or place in a sealed bag and crush with a rolling pin
Let's Make These Together
- Combine the Cheese Base
- Start by placing your softened cream cheese and shredded cheddar cheese in a large mixing bowl. Beat them together using a hand mixer on medium speed or vigorously stir with a sturdy wooden spoon until the mixture becomes smooth and creamy with no lumps remaining. This creates the perfect base for your cheese ball – rich, tangy, and ready to absorb all those delicious taco flavors.
- Add Flavorful Mix-ins
- Now comes the fun part – adding all those bold Tex-Mex flavors. Sprinkle in your taco seasoning packet, then add the savory bacon bits and freshly chopped green onions. Mix everything together thoroughly, making sure each ingredient is evenly distributed throughout the cheese mixture. You'll start to see beautiful flecks of green from the onions and bits of bacon throughout, and the aroma of the taco seasoning will make your mouth water.
- Shape and Chill
- Lay out a large piece of plastic wrap on your counter and transfer your cheese mixture right into the center. Gather up the edges of the plastic wrap and use it to help shape your mixture into a nice round ball. Twist the top to secure it, then place your wrapped cheese ball in the refrigerator for at least 2 hours or until it's firm to the touch. This chilling time is crucial – it allows the flavors to meld together and makes the cheese ball much easier to coat without falling apart.
- Create the Crunchy Coating
- When your cheese ball is thoroughly chilled and firm, it's time for the grand finale. Spread your crushed tortilla chips out on a large plate or shallow dish. Unwrap your cheese ball and place it right in the middle of those chips. Gently roll it around, using your hands to press the chips into the surface until the entire ball is completely coated in that gorgeous golden crust. The contrast between the creamy interior and crunchy exterior is what makes this appetizer absolutely irresistible.
 pin it
Switch Things Up
I first made this Taco Cheese Ball for a last-minute gathering when I realized I had promised to bring an appetizer but had completely forgotten until that morning. Panic mode set in until I opened my fridge and saw cream cheese, cheddar, and leftover taco seasoning from taco Tuesday. Within fifteen minutes, I had mixed everything together, rolled it into a ball, and coated it in crushed tortilla chips. I popped it in the fridge while I got ready, feeling pretty proud of my quick thinking. When I arrived at the party and set it out, people immediately started gravitating toward it. My friend Sarah took one bite and declared it the best cheese ball she'd ever had. By the end of the night, the platter was completely clean, and three people had asked me for the recipe. Now I make it for every gathering, sometimes doubling the recipe because I know it'll be gone in minutes. The best part is that it tastes like you spent hours in the kitchen when really, it's one of the easiest appetizers you can make.
Perfect Pairings
This Taco Cheese Ball pairs beautifully with a variety of dippers and sides. Naturally, tortilla chips are the classic choice, but try offering a mix of regular, lime-flavored, and spicy chips for variety. Fresh vegetable sticks like bell peppers, celery, and carrots add a refreshing crunch and lighter option. Crackers like wheat thins or club crackers work wonderfully too. For beverages, serve with cold Mexican beer, margaritas, or refreshing agua fresca. If you're building a full appetizer spread, pair it with fresh salsa, guacamole, and a warm queso dip. The cheese ball also complements a charcuterie board with pickled jalapeños, olives, and sliced salami for a Tex-Mex twist.
 pin it
Frequently Asked Questions
- → Can I make this cheese ball ahead of time?
Absolutely! This Taco Cheese Ball is perfect for making ahead. You can prepare it up to 2 days in advance, but wait to roll it in the crushed tortilla chips until about 2-3 hours before serving to keep the coating nice and crunchy. Store it wrapped in plastic wrap in the refrigerator until ready to coat and serve.
- → Can I freeze the Taco Cheese Ball?
Yes, you can freeze it, though the texture of the cream cheese may change slightly upon thawing. Freeze the cheese ball before coating it in tortilla chips, wrapped tightly in plastic wrap and then aluminum foil, for up to 1 month. Thaw in the refrigerator overnight, then coat with crushed chips before serving.
- → What can I use instead of bacon to make it vegetarian?
For a vegetarian version, you can simply omit the bacon bits entirely, or replace them with vegetarian bacon alternatives, sun-dried tomatoes, or roasted red peppers for a different flavor profile. You could also add black beans or corn for texture and a Southwestern twist.
- → How do I keep the tortilla chip coating from getting soggy?
The key is to coat the cheese ball no more than 2-3 hours before serving. The longer the chips sit on the moist cheese ball, the more they'll soften. If you're making it further in advance, keep the cheese ball refrigerated without the coating and add the crushed chips right before your guests arrive.
- → Can I use low-fat cream cheese?
While you can use low-fat cream cheese, keep in mind that it has a slightly different texture and may make the cheese ball a bit softer and less rich. For the best flavor and texture, full-fat cream cheese is recommended. If you do use low-fat, you may need to chill it a bit longer to achieve the right firmness.
- → What's the best way to serve this cheese ball?
Place the cheese ball on a serving platter and surround it with tortilla chips, crackers, and fresh vegetable sticks like bell peppers, celery, and carrots. Garnish with fresh cilantro and perhaps a few cherry tomatoes for color. Provide small spreading knives or spoons so guests can easily scoop the cheese ball onto their dippers.
Conclusion
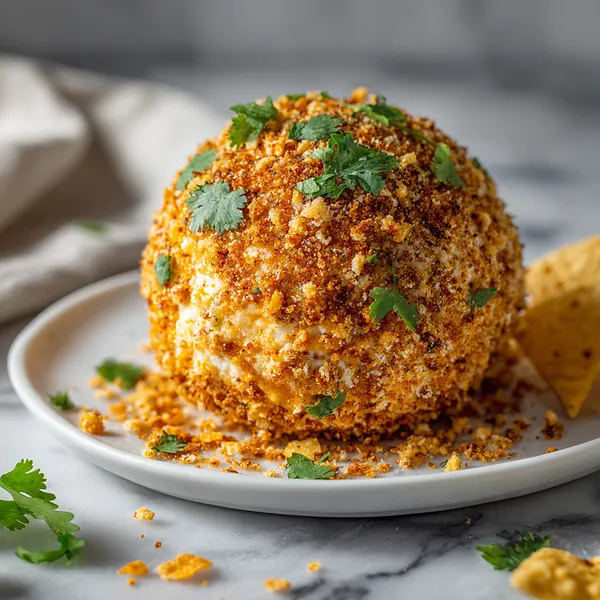
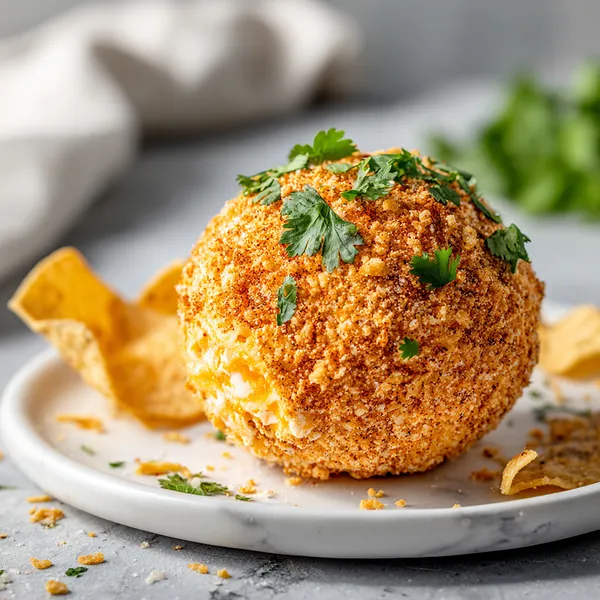
This Taco Cheese Ball is the ultimate crowd-pleaser that combines all your favorite taco flavors in one delicious, creamy appetizer. The crunchy tortilla chip coating gives way to a rich, tangy center that's packed with savory bacon and fresh green onions. Whether you're hosting a game day party, potluck, or casual get-together, this cheese ball is guaranteed to disappear quickly. Make it ahead of time and let it chill in the fridge so the flavors meld together beautifully. Serve it with extra tortilla chips, fresh vegetables, or crackers for the perfect party spread that requires minimal effort but delivers maximum flavor.